Make It: Spring Flower Pot Wreath
Hello Dear Readers!
Here in Wisconsin the leaves are starting to populate the trees again and the springtime flowers are peeking out of the ground…finally! So I thought it was the perfect time to create a Spring Flower Pot Wreath to welcome the warmer weather (and hopefully convince it to stick around!).
Difficulty Level: Medium
(Only because tying the flower pots to the wreath is a bit of a challenge unless you have an extra set of hands to help you, the rest is easy.)
Materials Needed:
Hot glue gun, high-temp
Wire Cutter (Scissors will work but its harder)
Twine (natural brown color)
Tape: scotch tape, painter’s tape
Small styrofoam balls (8)
Fiberfill stuffing
Flower pots (3 larger, 8 smaller)
24-inch grapevine wreath
Wreath hanger, the over-the-door type
Leafy garland, 2 feet long
Fake flowers: (see note under wreath photo)
Moss
Paint: off-white, dark grey, and dark green
Buying fake flowers:
I’ve found Hobby Lobby has the most realistic, high quality fake flowers. They are a little pricier than, say, the dollar store or Walmart, but for me the quality is worth the spend. Hobby Lobby frequently has floral at 50% off; use the Google to find out when their next sale happens, and go stock up!
Sourcing other materials: you should be able to find everything you need at any craft store, but don’t forget to shop the dollar store! That’s where I found my pots. You know I love a bargain.

Isn't she so cute??
Flowers in this project: 12 ranunculus: white, pink, and green; 6 daisy; blue and white spray rose (10 bunches cut from main stem)
A note:
My flowers were left over from another project. If you are buying new ones, you will not use the entire bunch of each if you make your project EXACTLY like mine. But I suggest you just play around until you get the look you want! You may use more or less flowers than I ended up with. Above I listed exactly what I used, as a reference, so you can copy mine (imitation is the sincerest form of flattery after all) but why not tap into your creativity and let your personality shine!
I made an Instagram Highlight with some short videos of this process. Click here to see it!
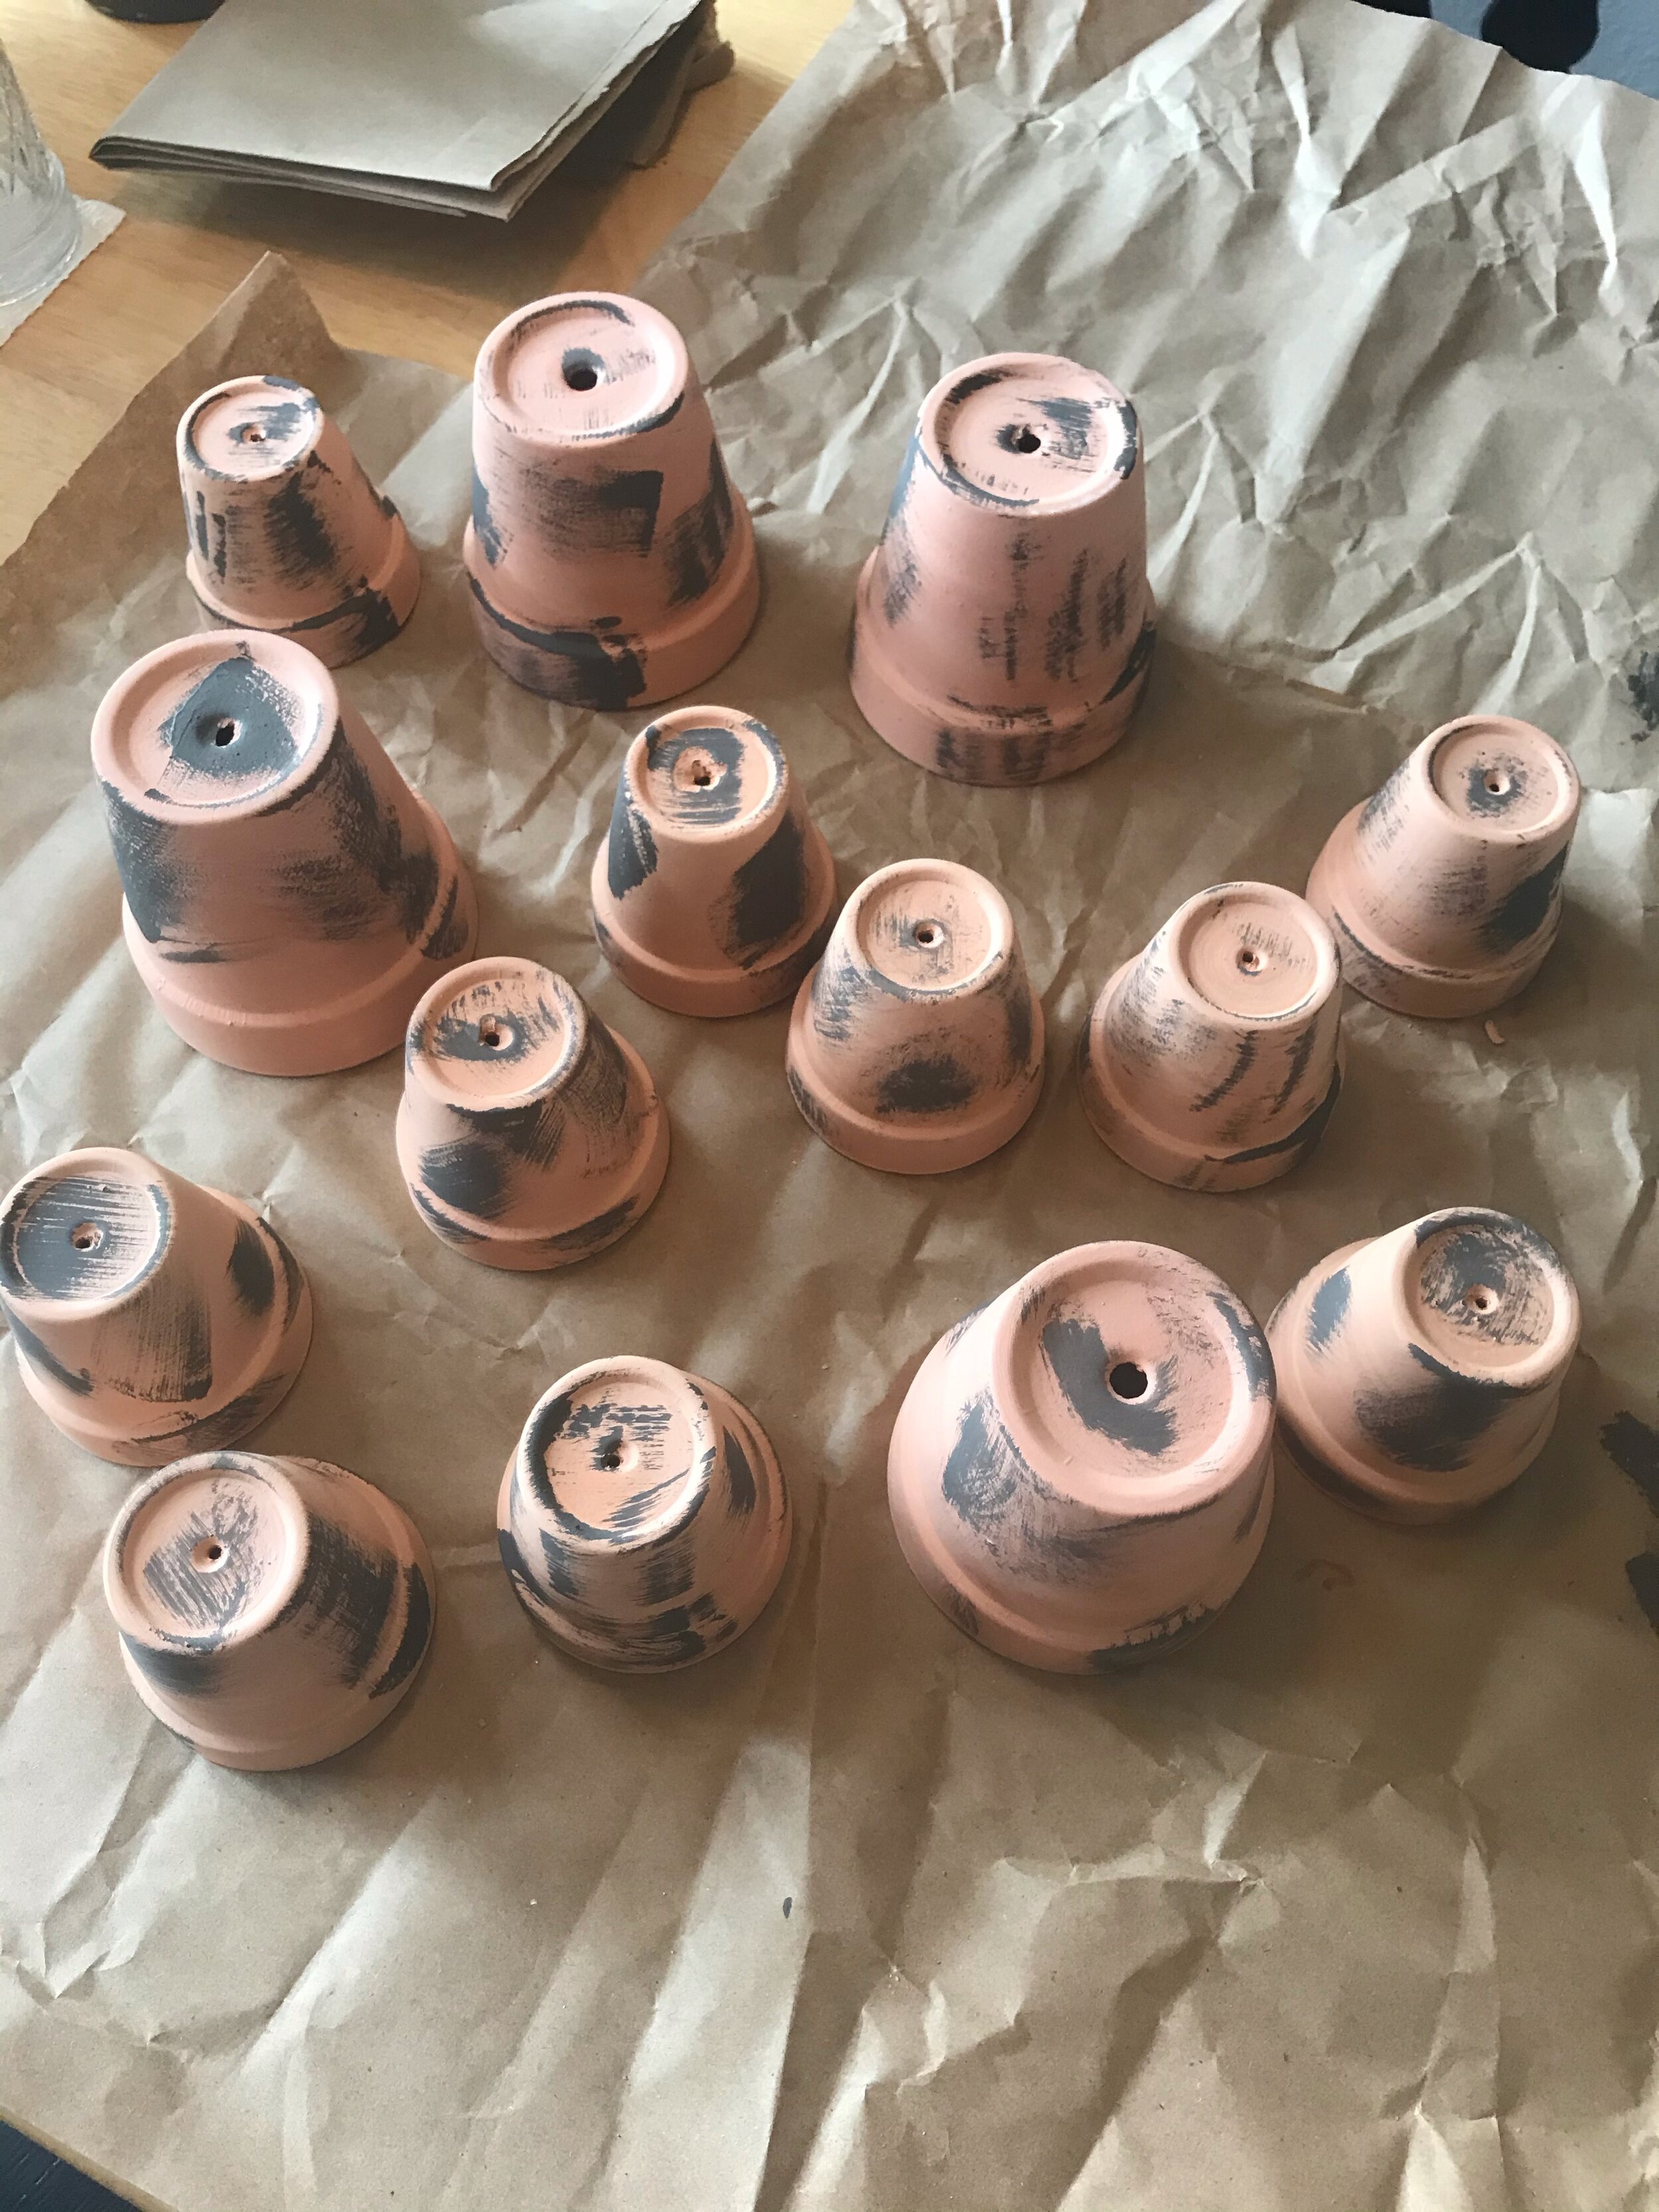
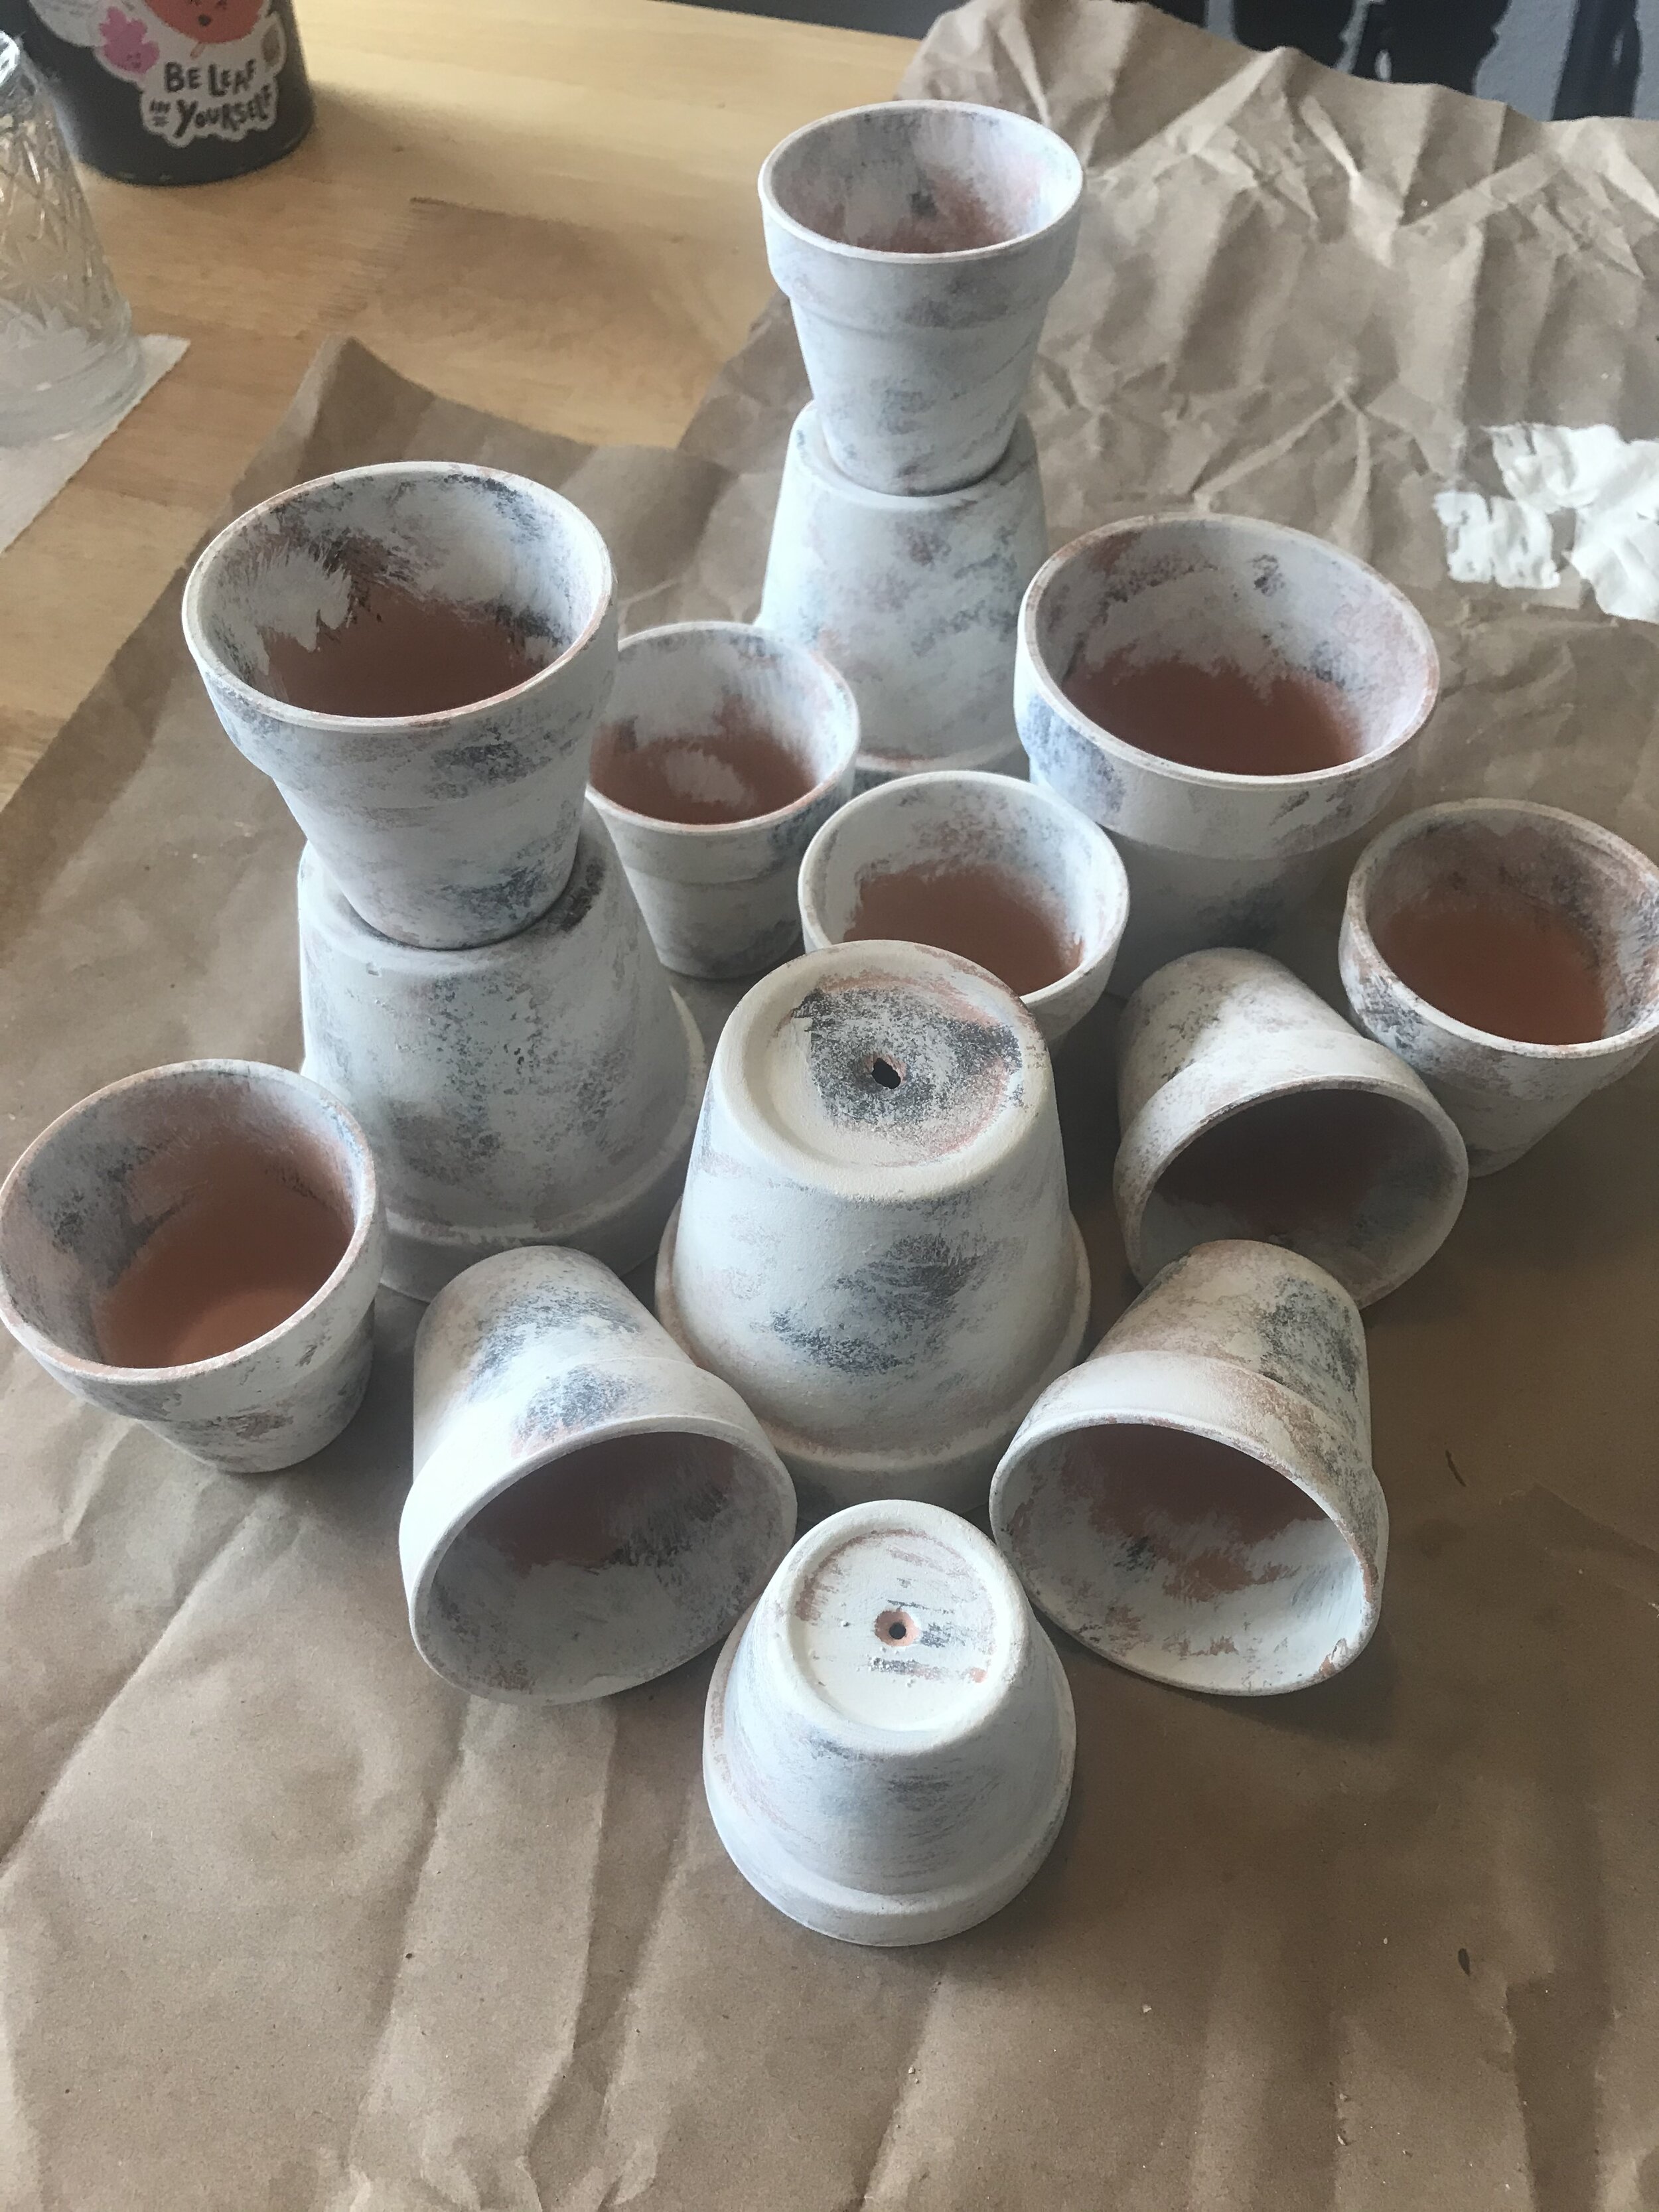
Step One: “Age” your pots! I used Dixie Belle chalk paint in Buttercream and Caviar and a variety of brushes for this step. Have fun with it! Start with the darker color: dip your brush in the paint, wipe some of it off on a paper towel, and randomly swipe the paint on each pot. When the first color is dry, repeat with the second, leaving some of the terra cotta color showing through.
Possible Step One A: Paint your moss. The only moss I could find was a very bright green and I wanted a darker look. Use a brush to dab acrylic paint all over the moss to make it sort of mottled and more realistic looking.
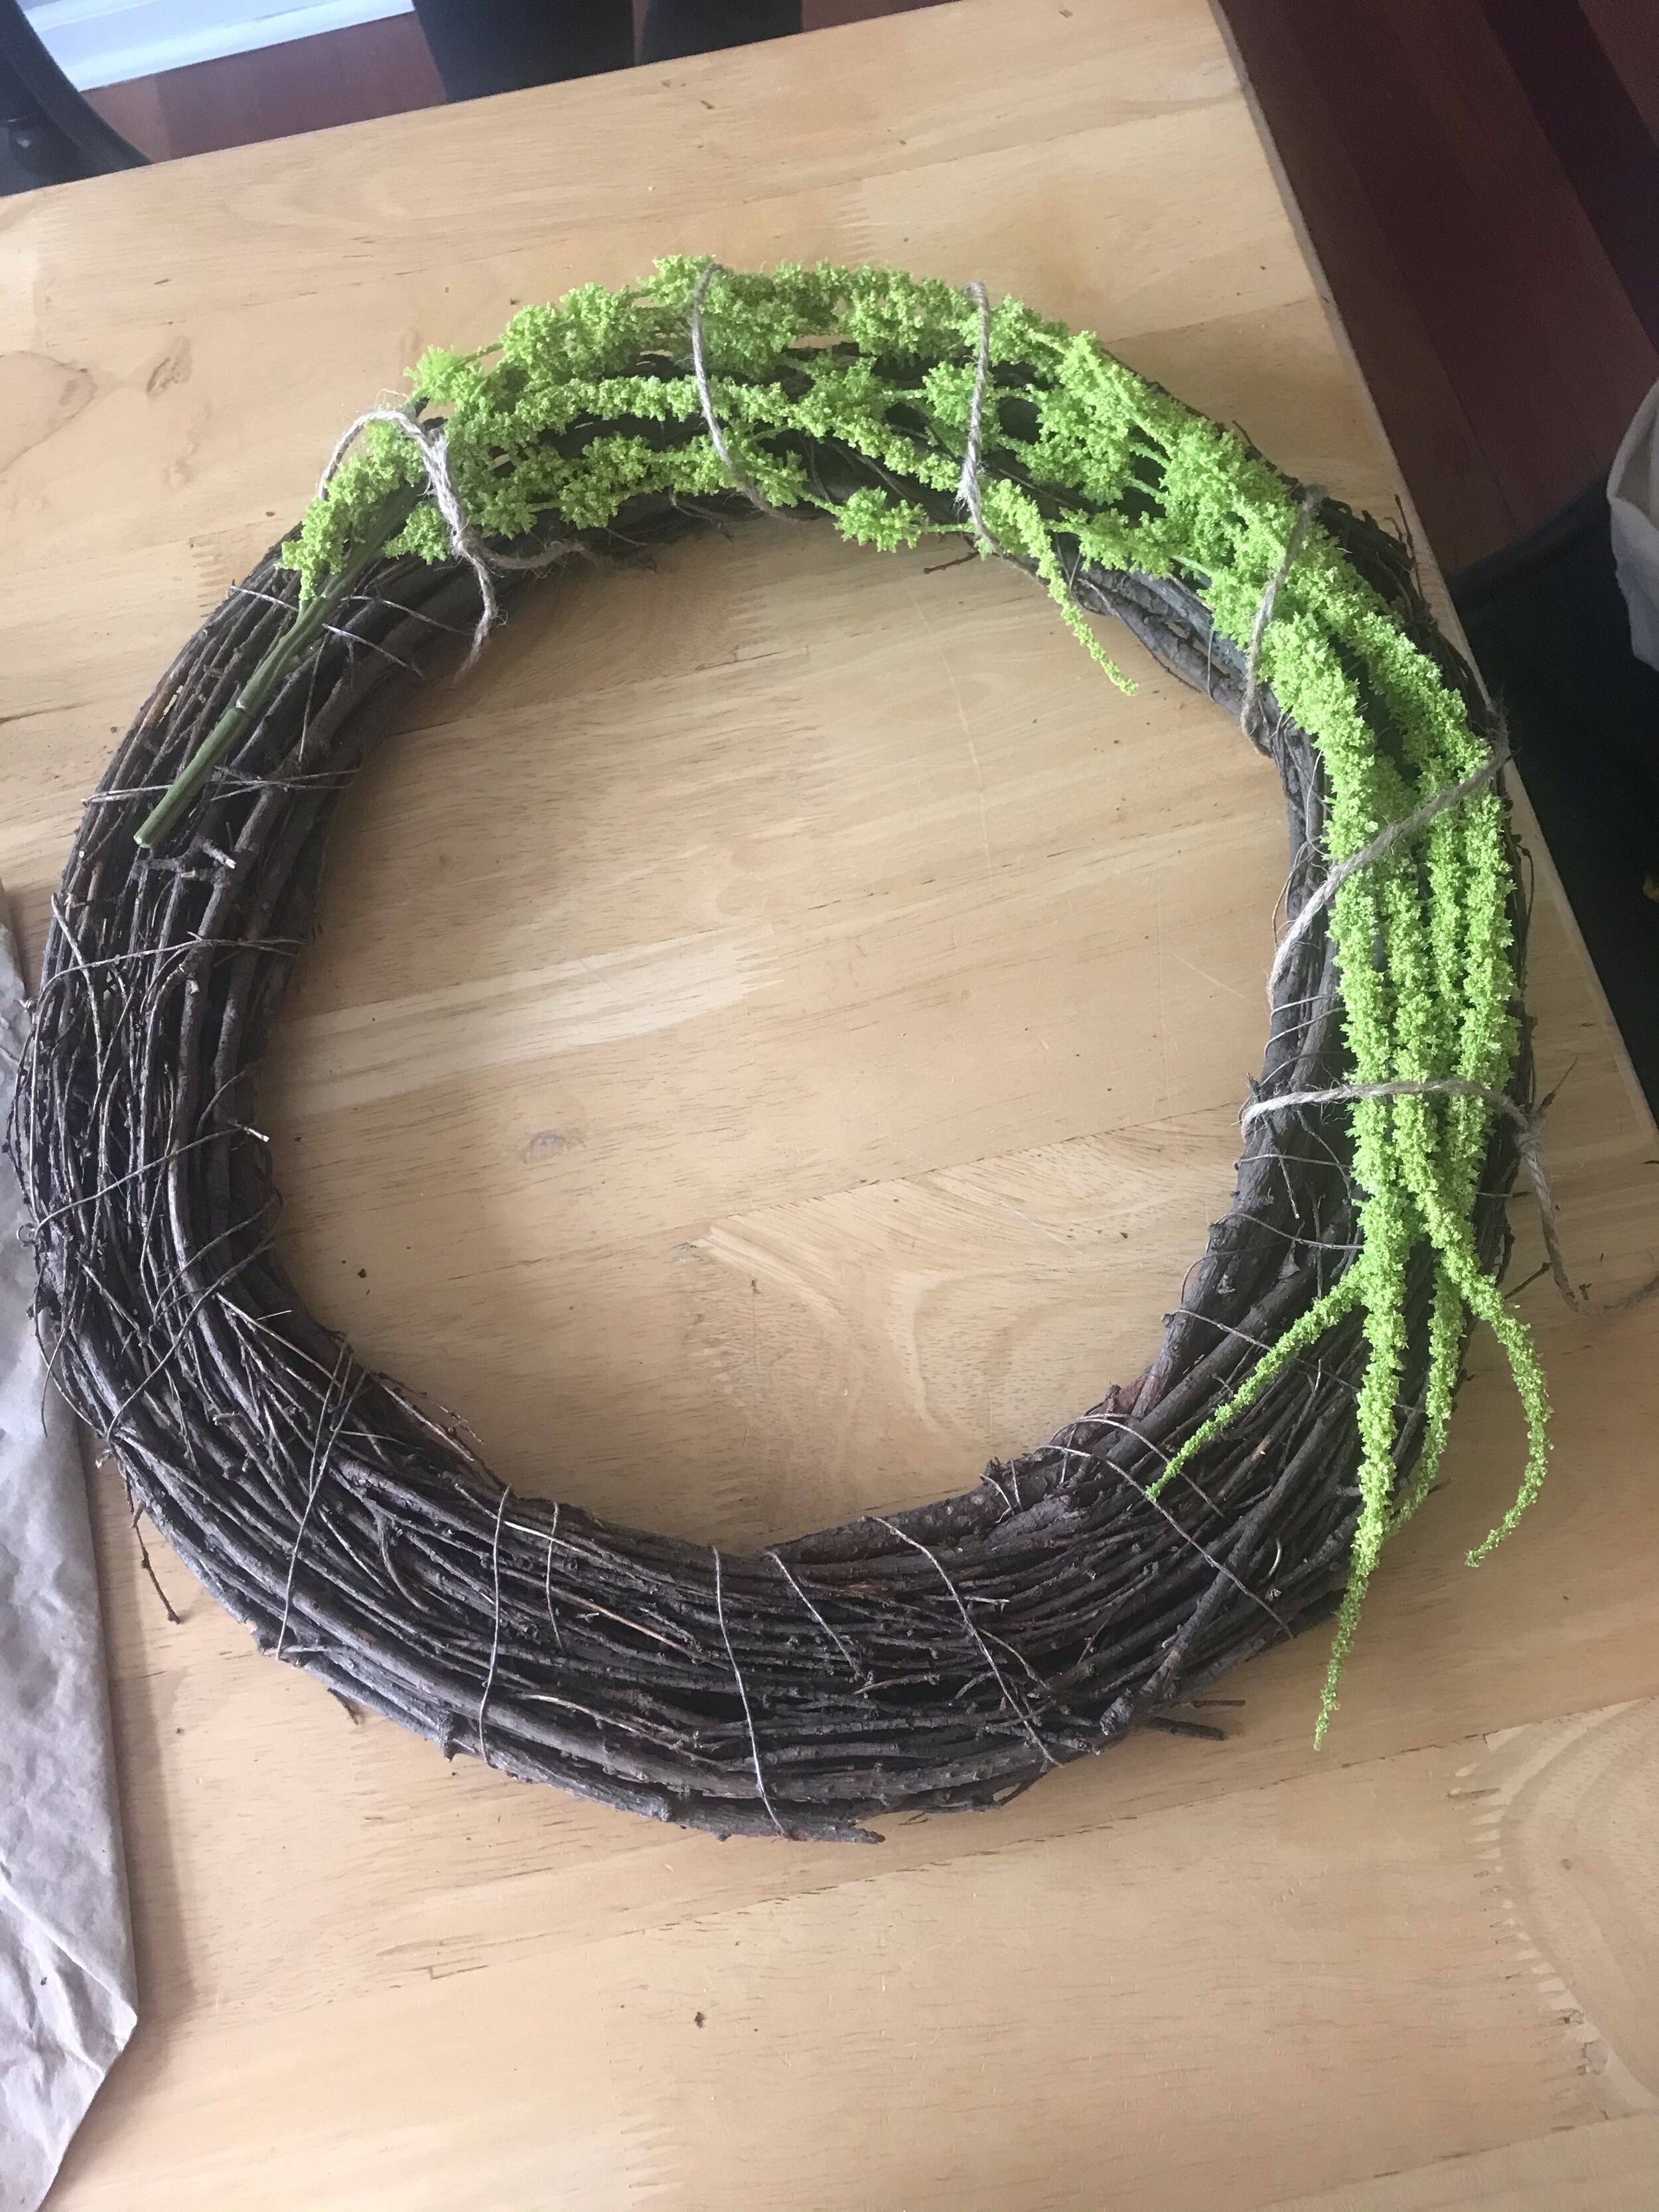
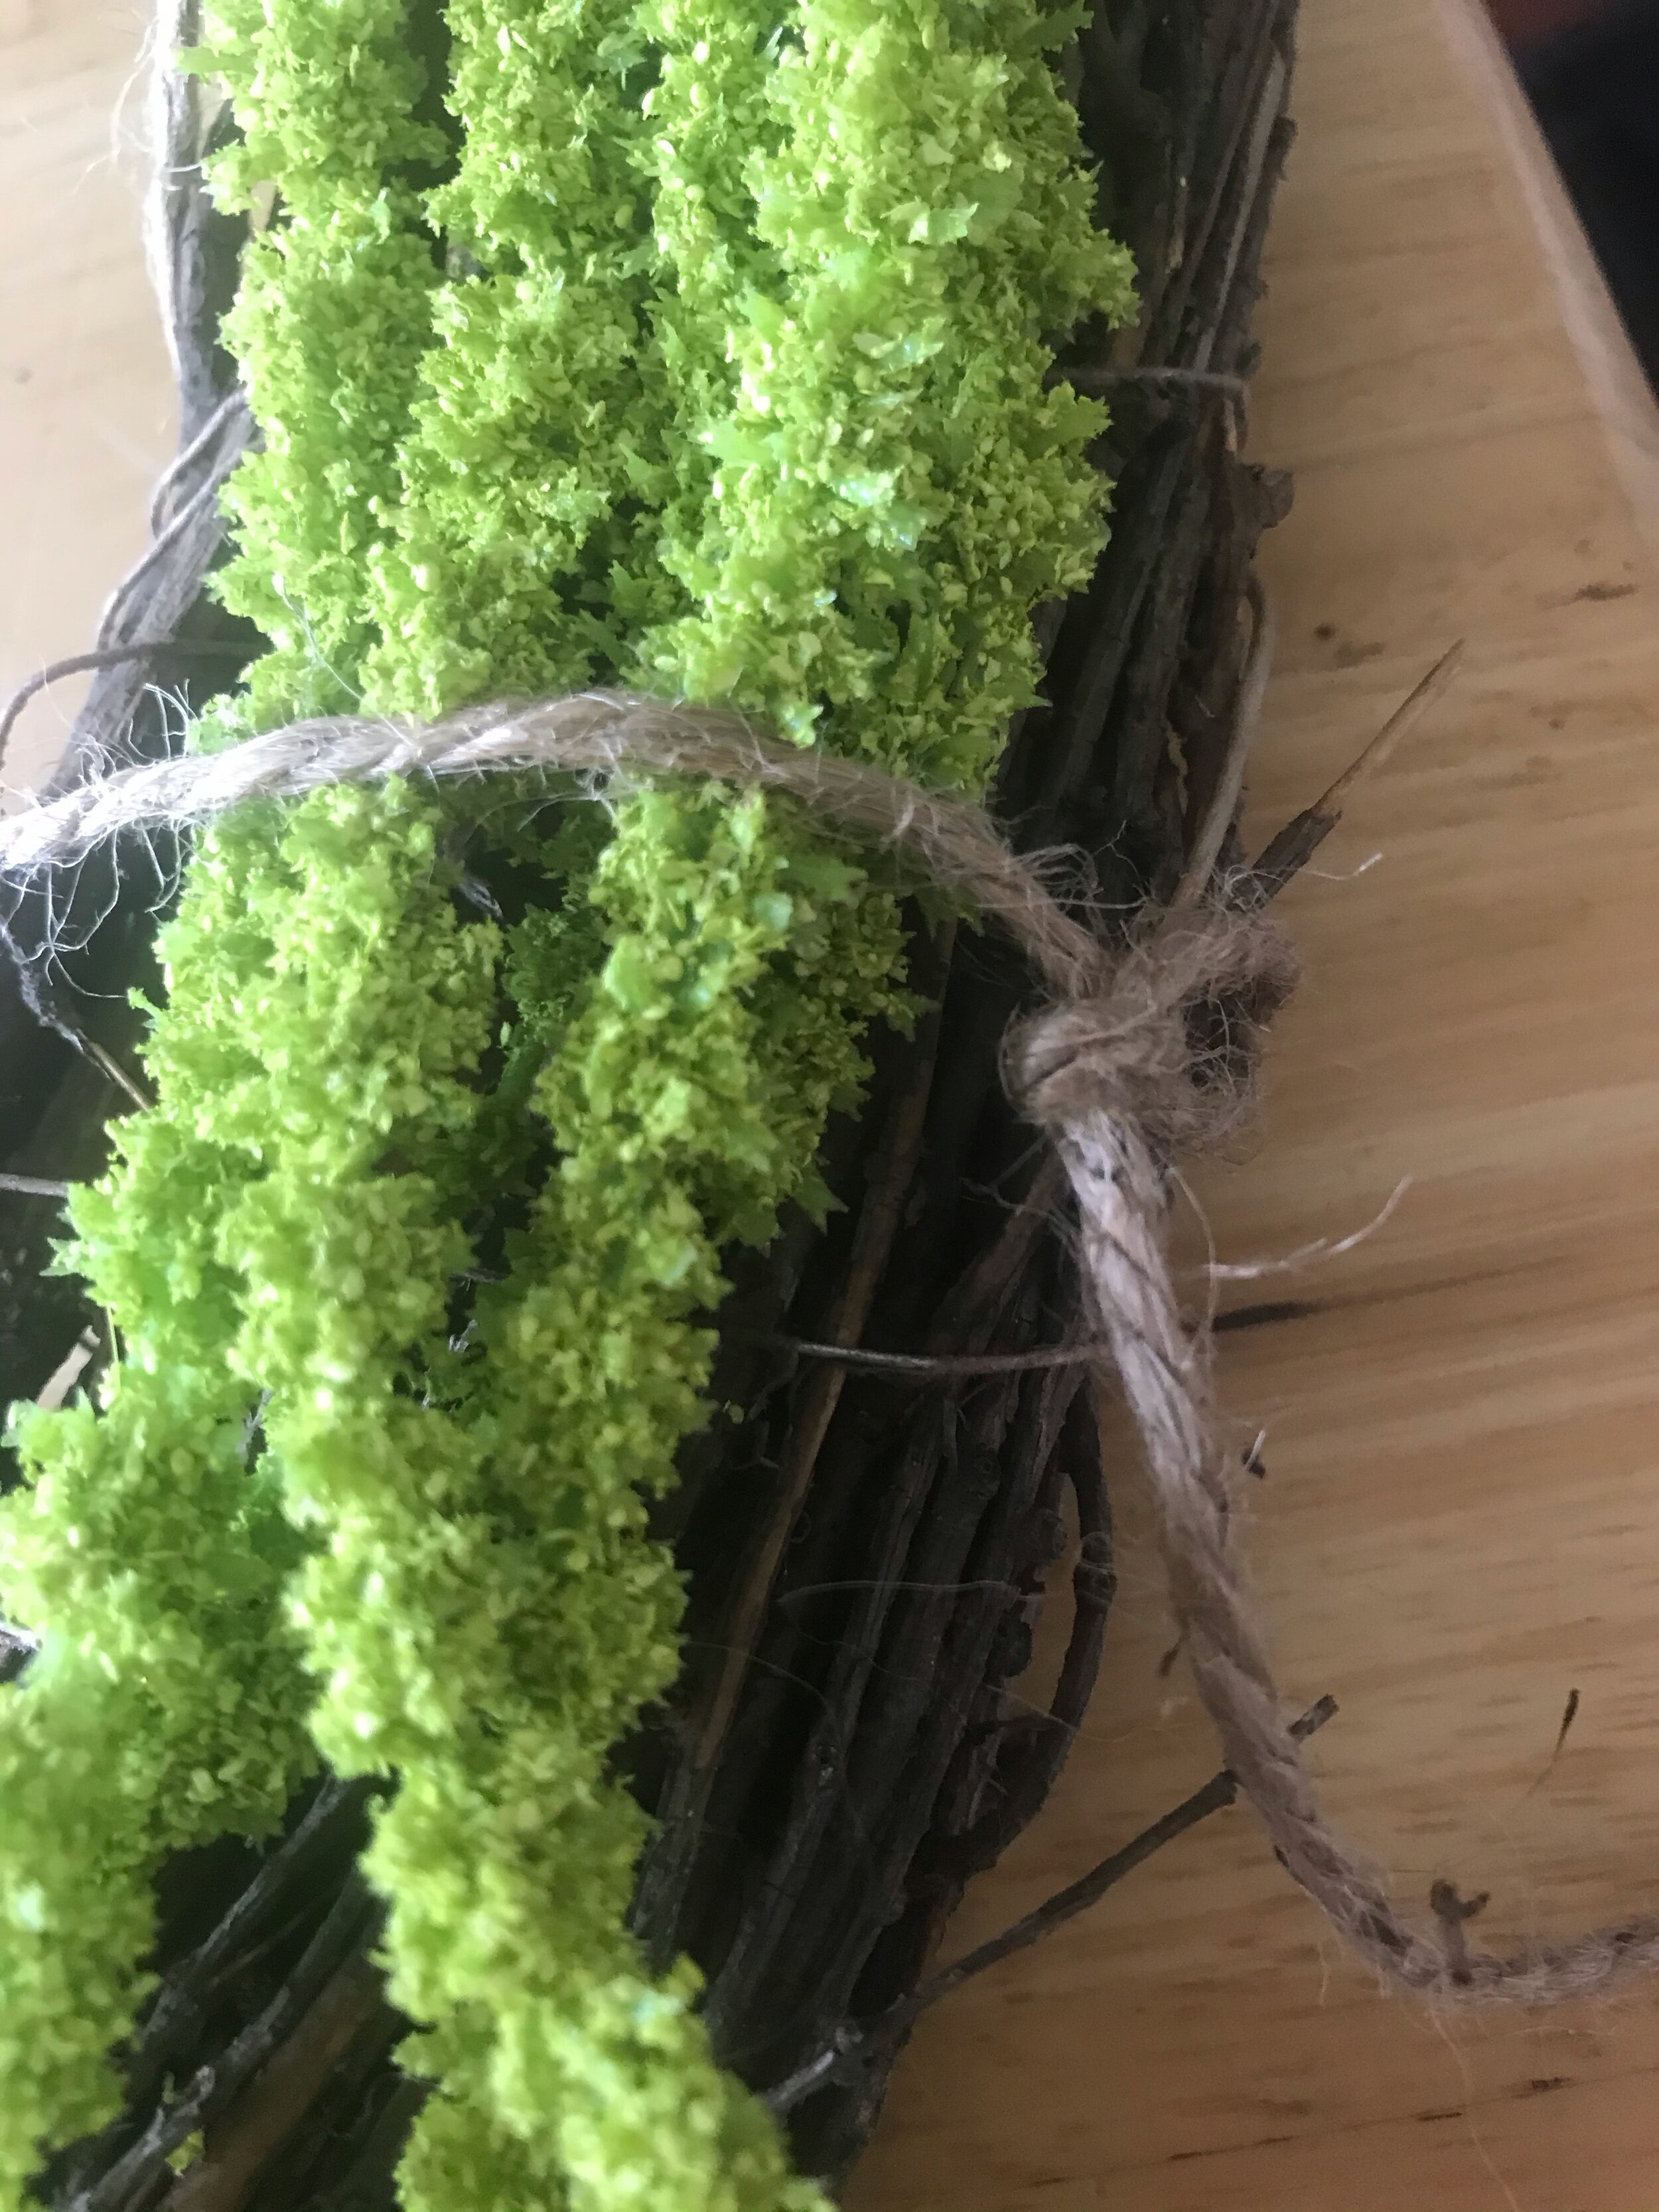
Step Two: Use the twine to loosely tie your greenery vine to your wreath. This will hold it in place while you work so that you can finesse it later, once the pots etc are in place..

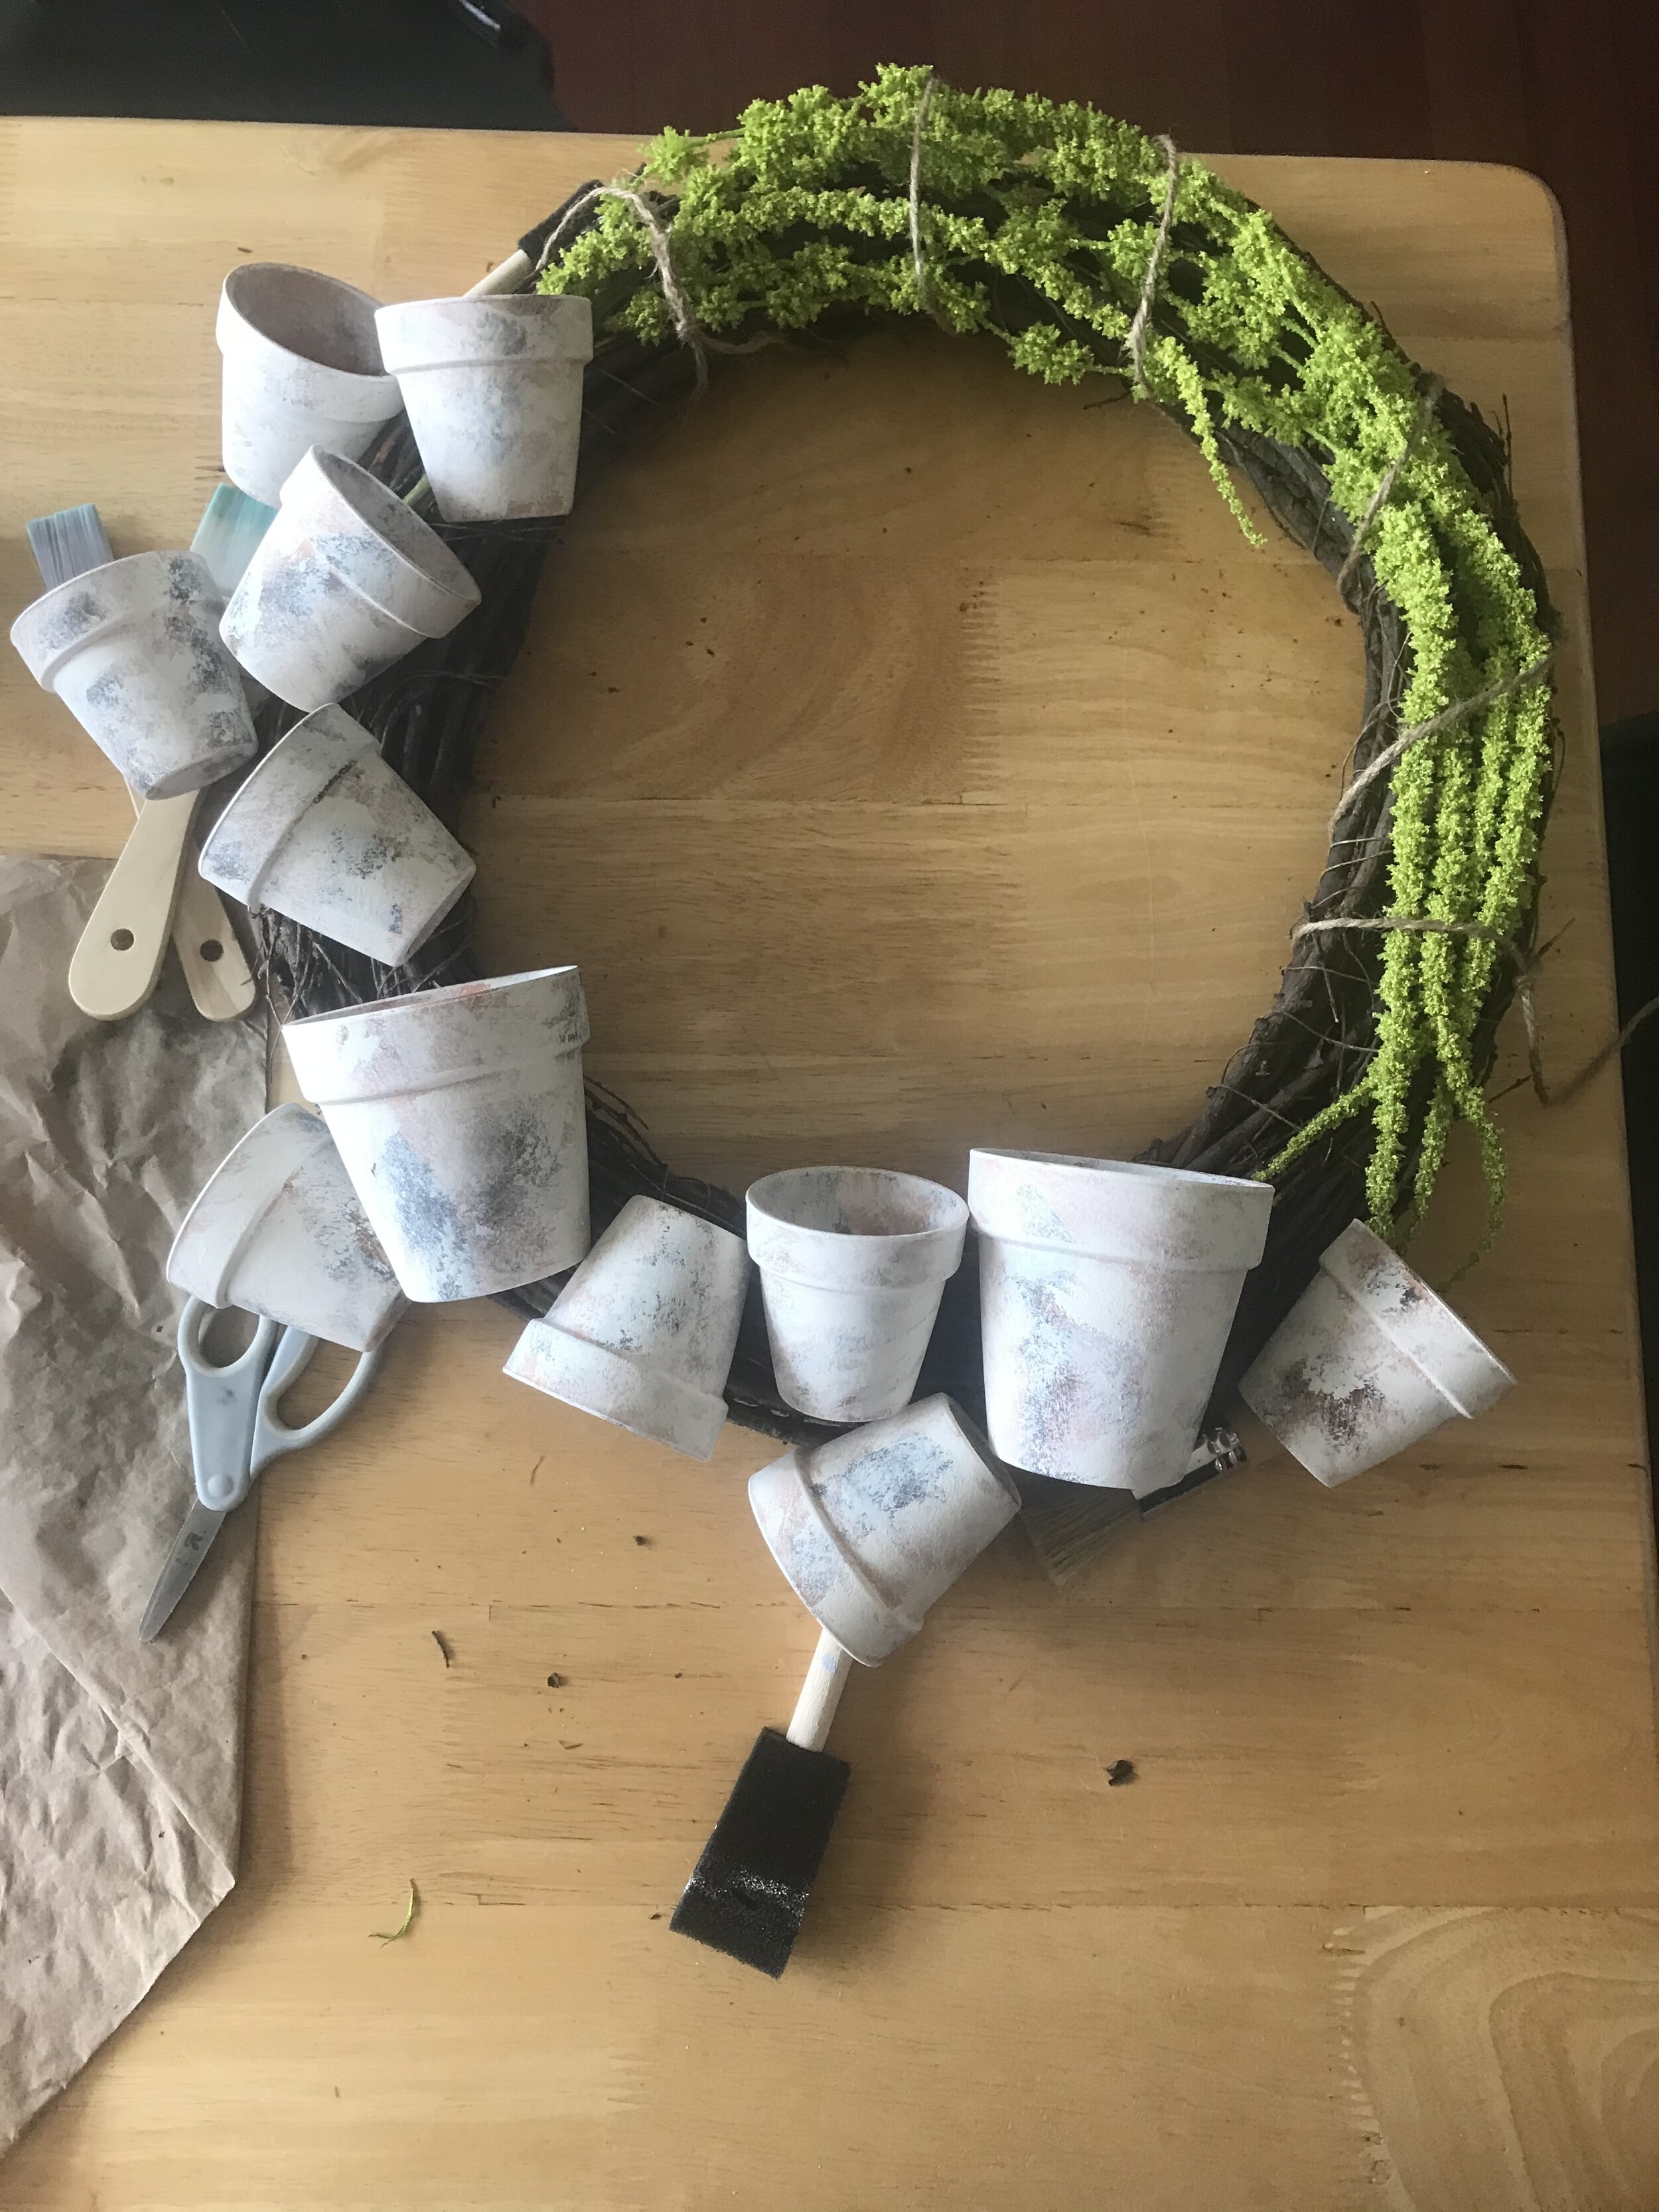
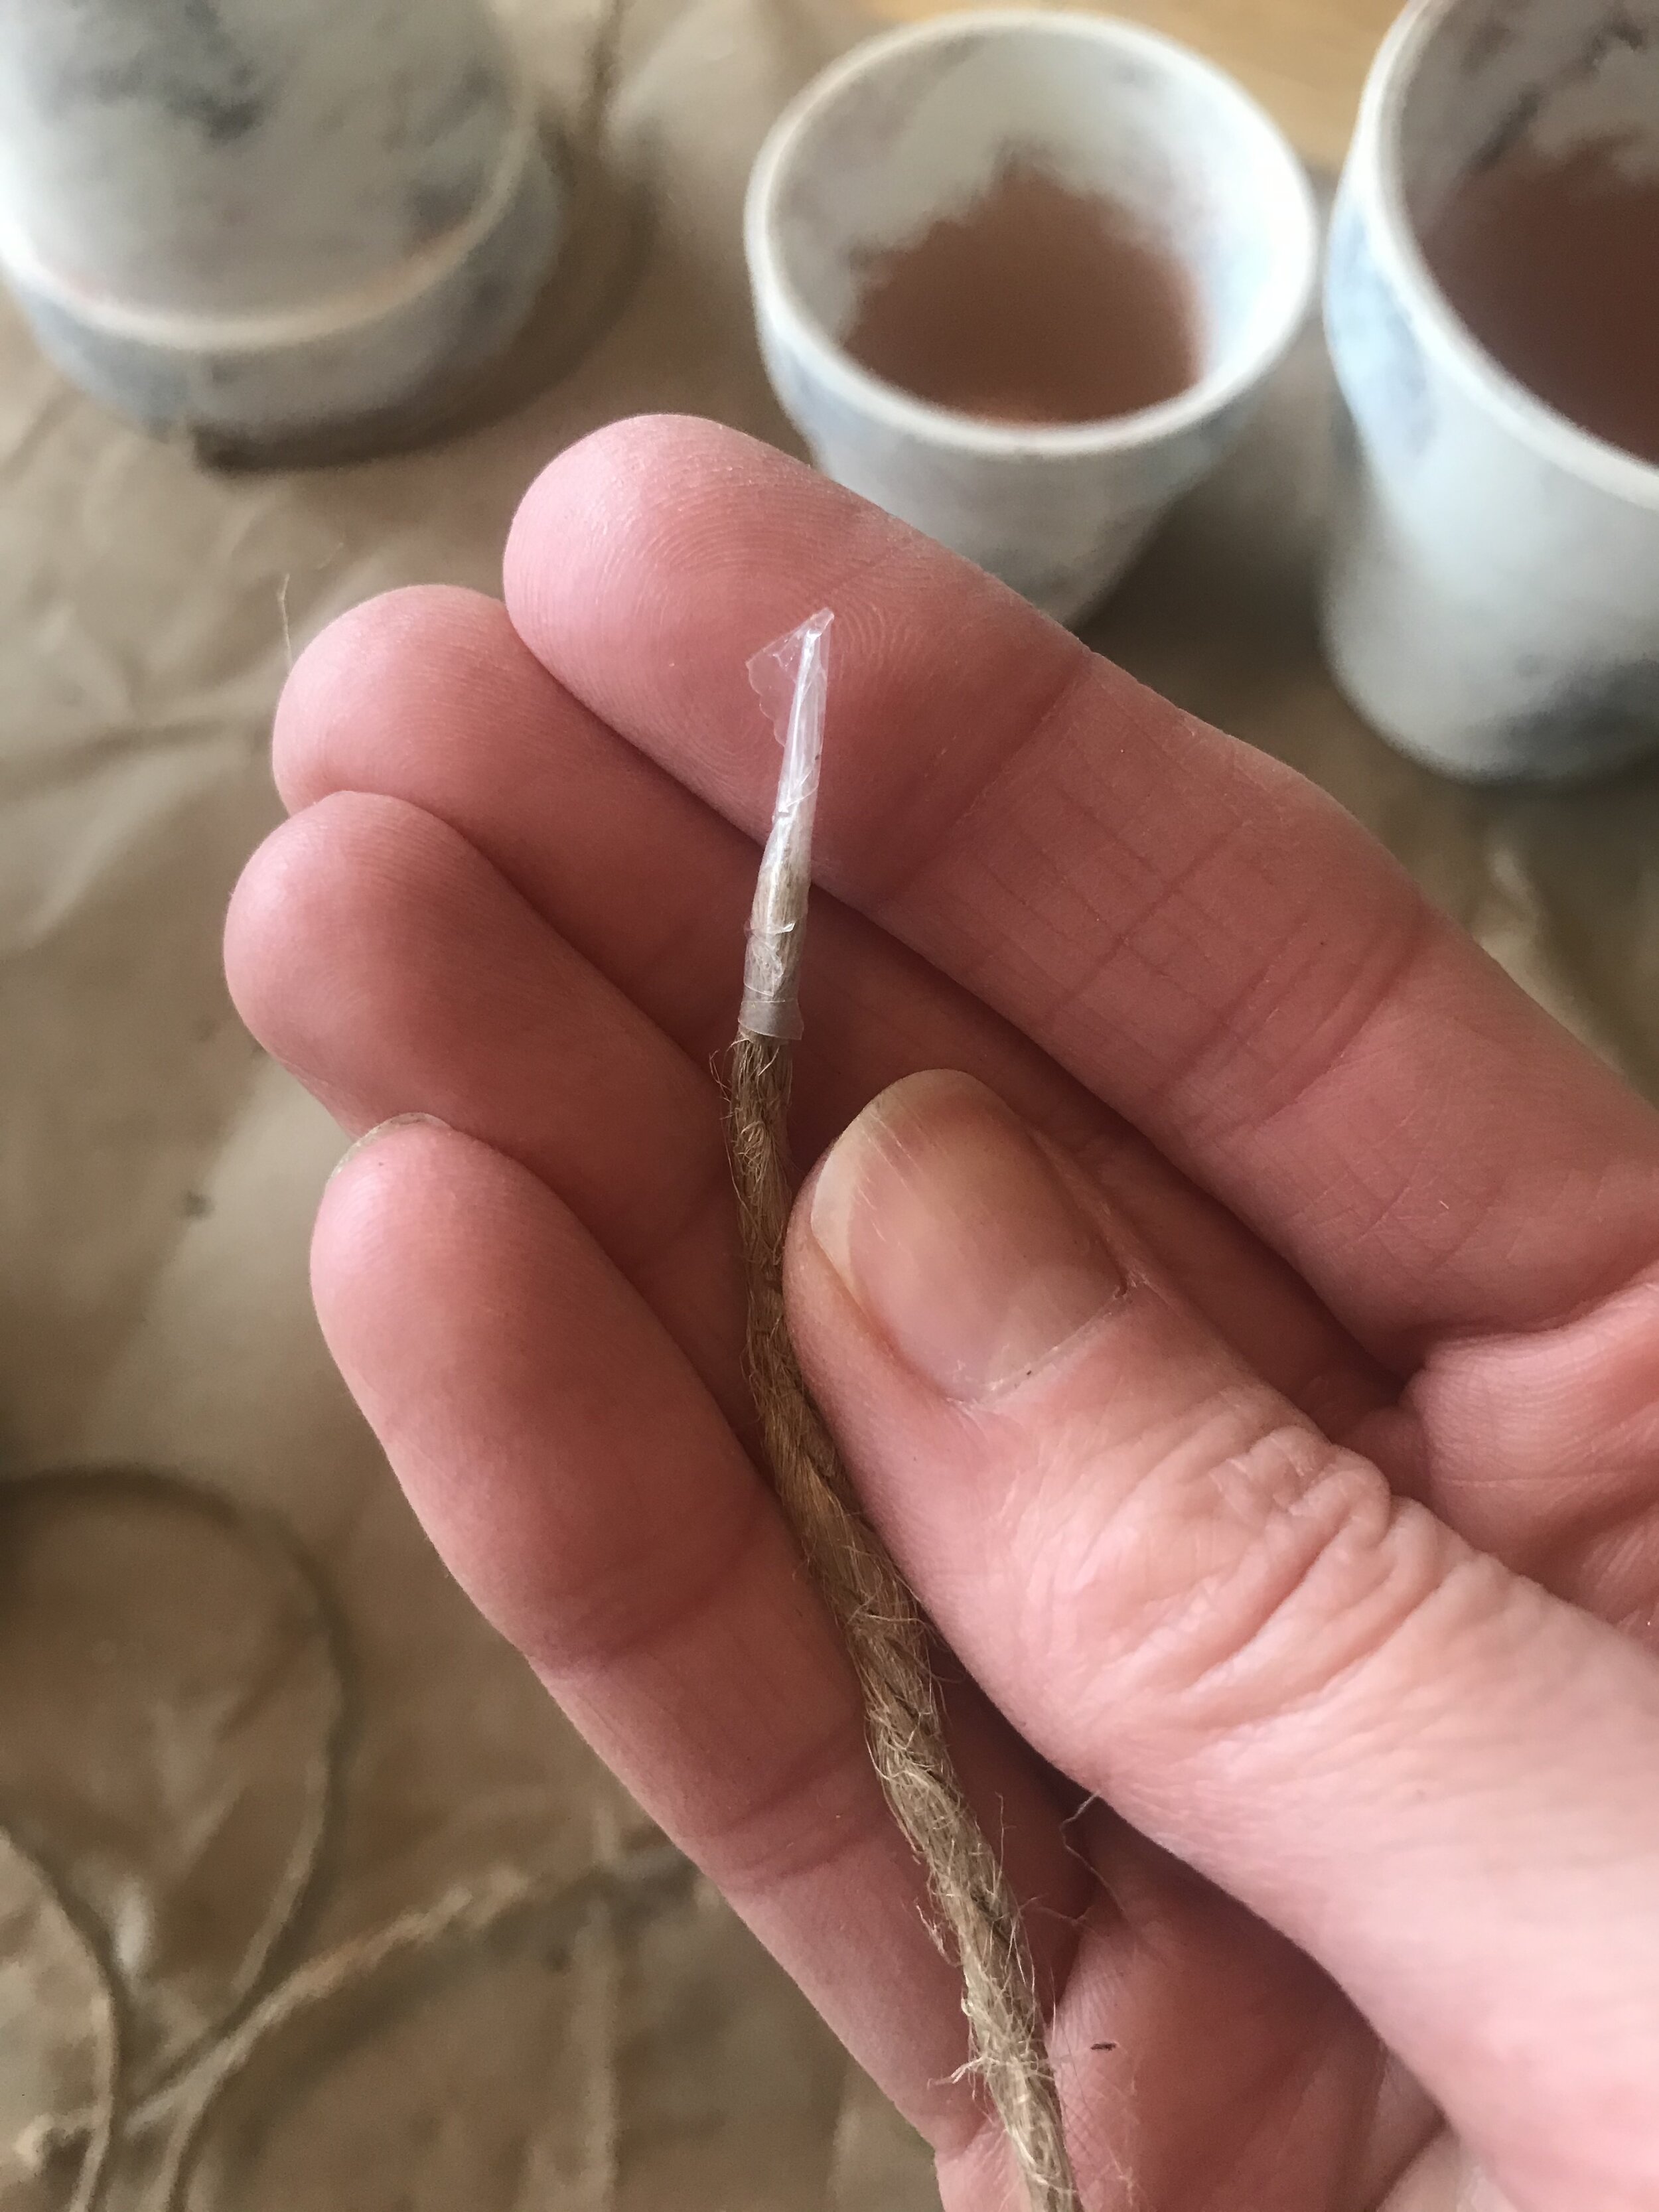

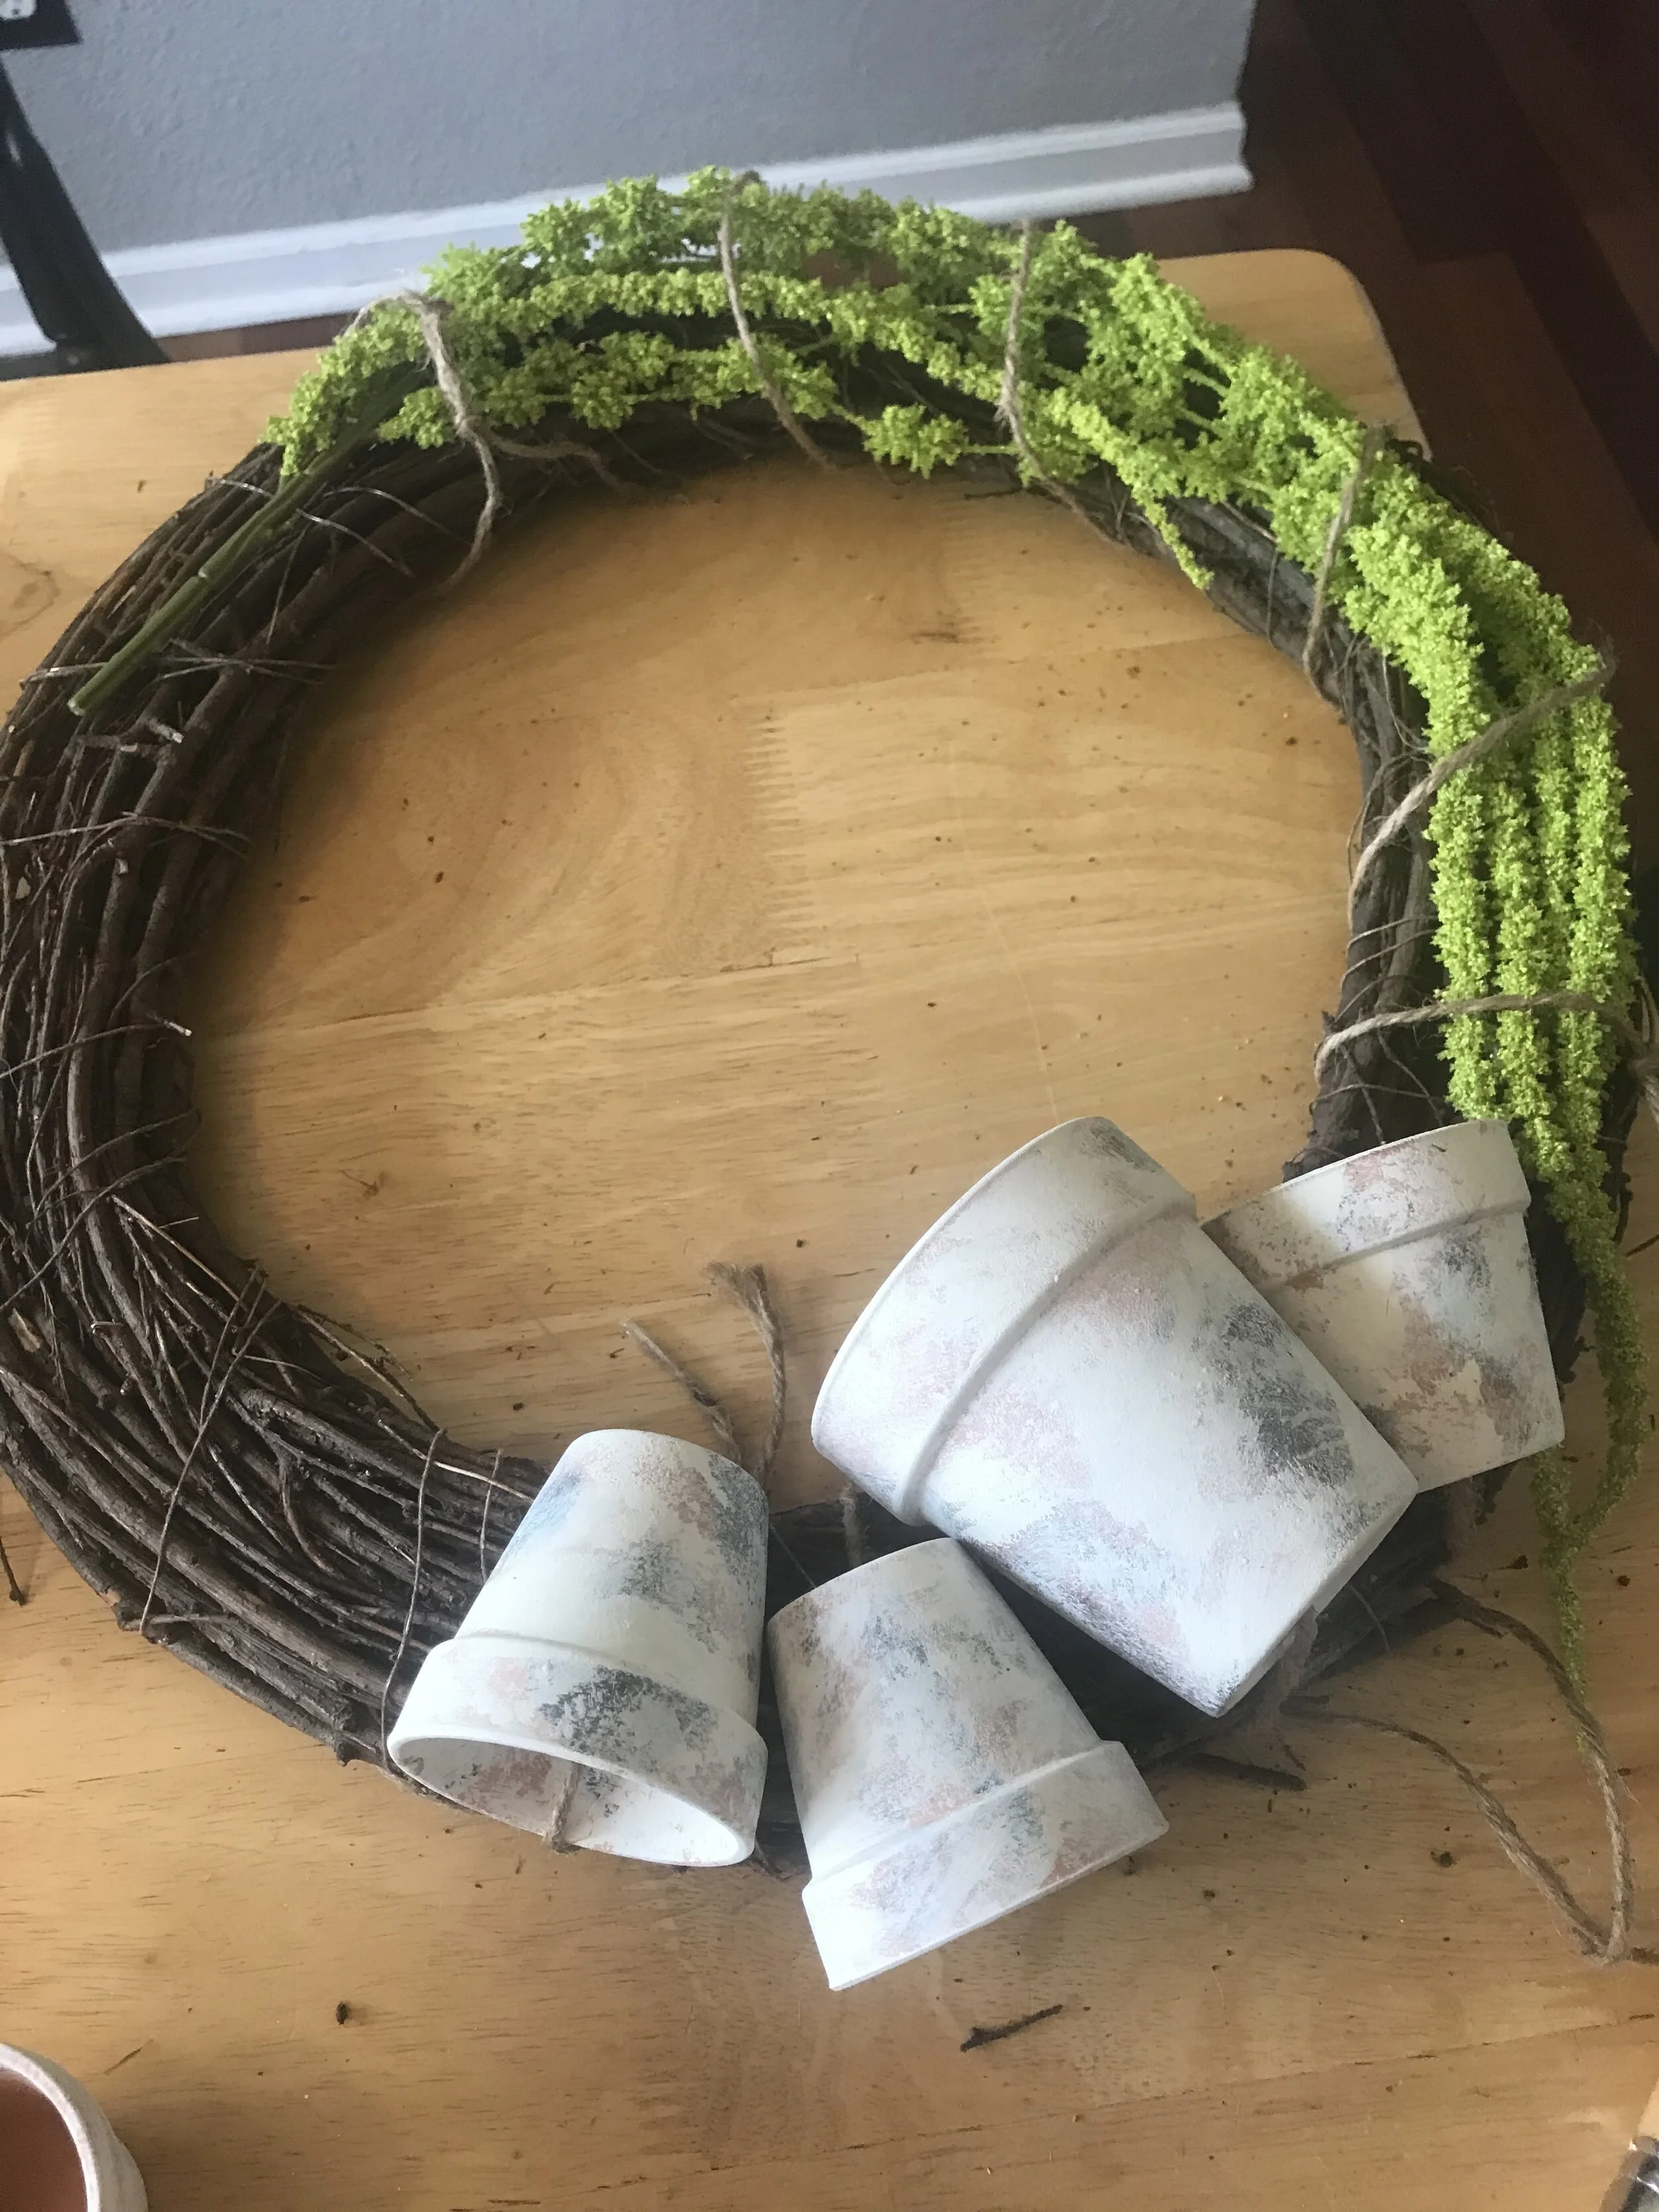

Step Three: Tie the pots to your wreath! This one is a bit of a challenge; recruit someone to be an extra set of hands if you can. If there’s no one around to help, painter’s tape will help hold things in place while you work. Lay your pots on your wreath in the configuration you want. Take a pic of this to reference. Wrap a piece of scotch tape around the end of your twine to make an aglet (the little plastic piece on the end of a shoelace!) to fit through the little holes in the bottom of the pots. Thread the twine through holes, wrap each piece around the side of the pot and around the wreath, then tie it in a knot on the back. At this point you may be wishing you were an octopus…8 hands would be really useful for this step.
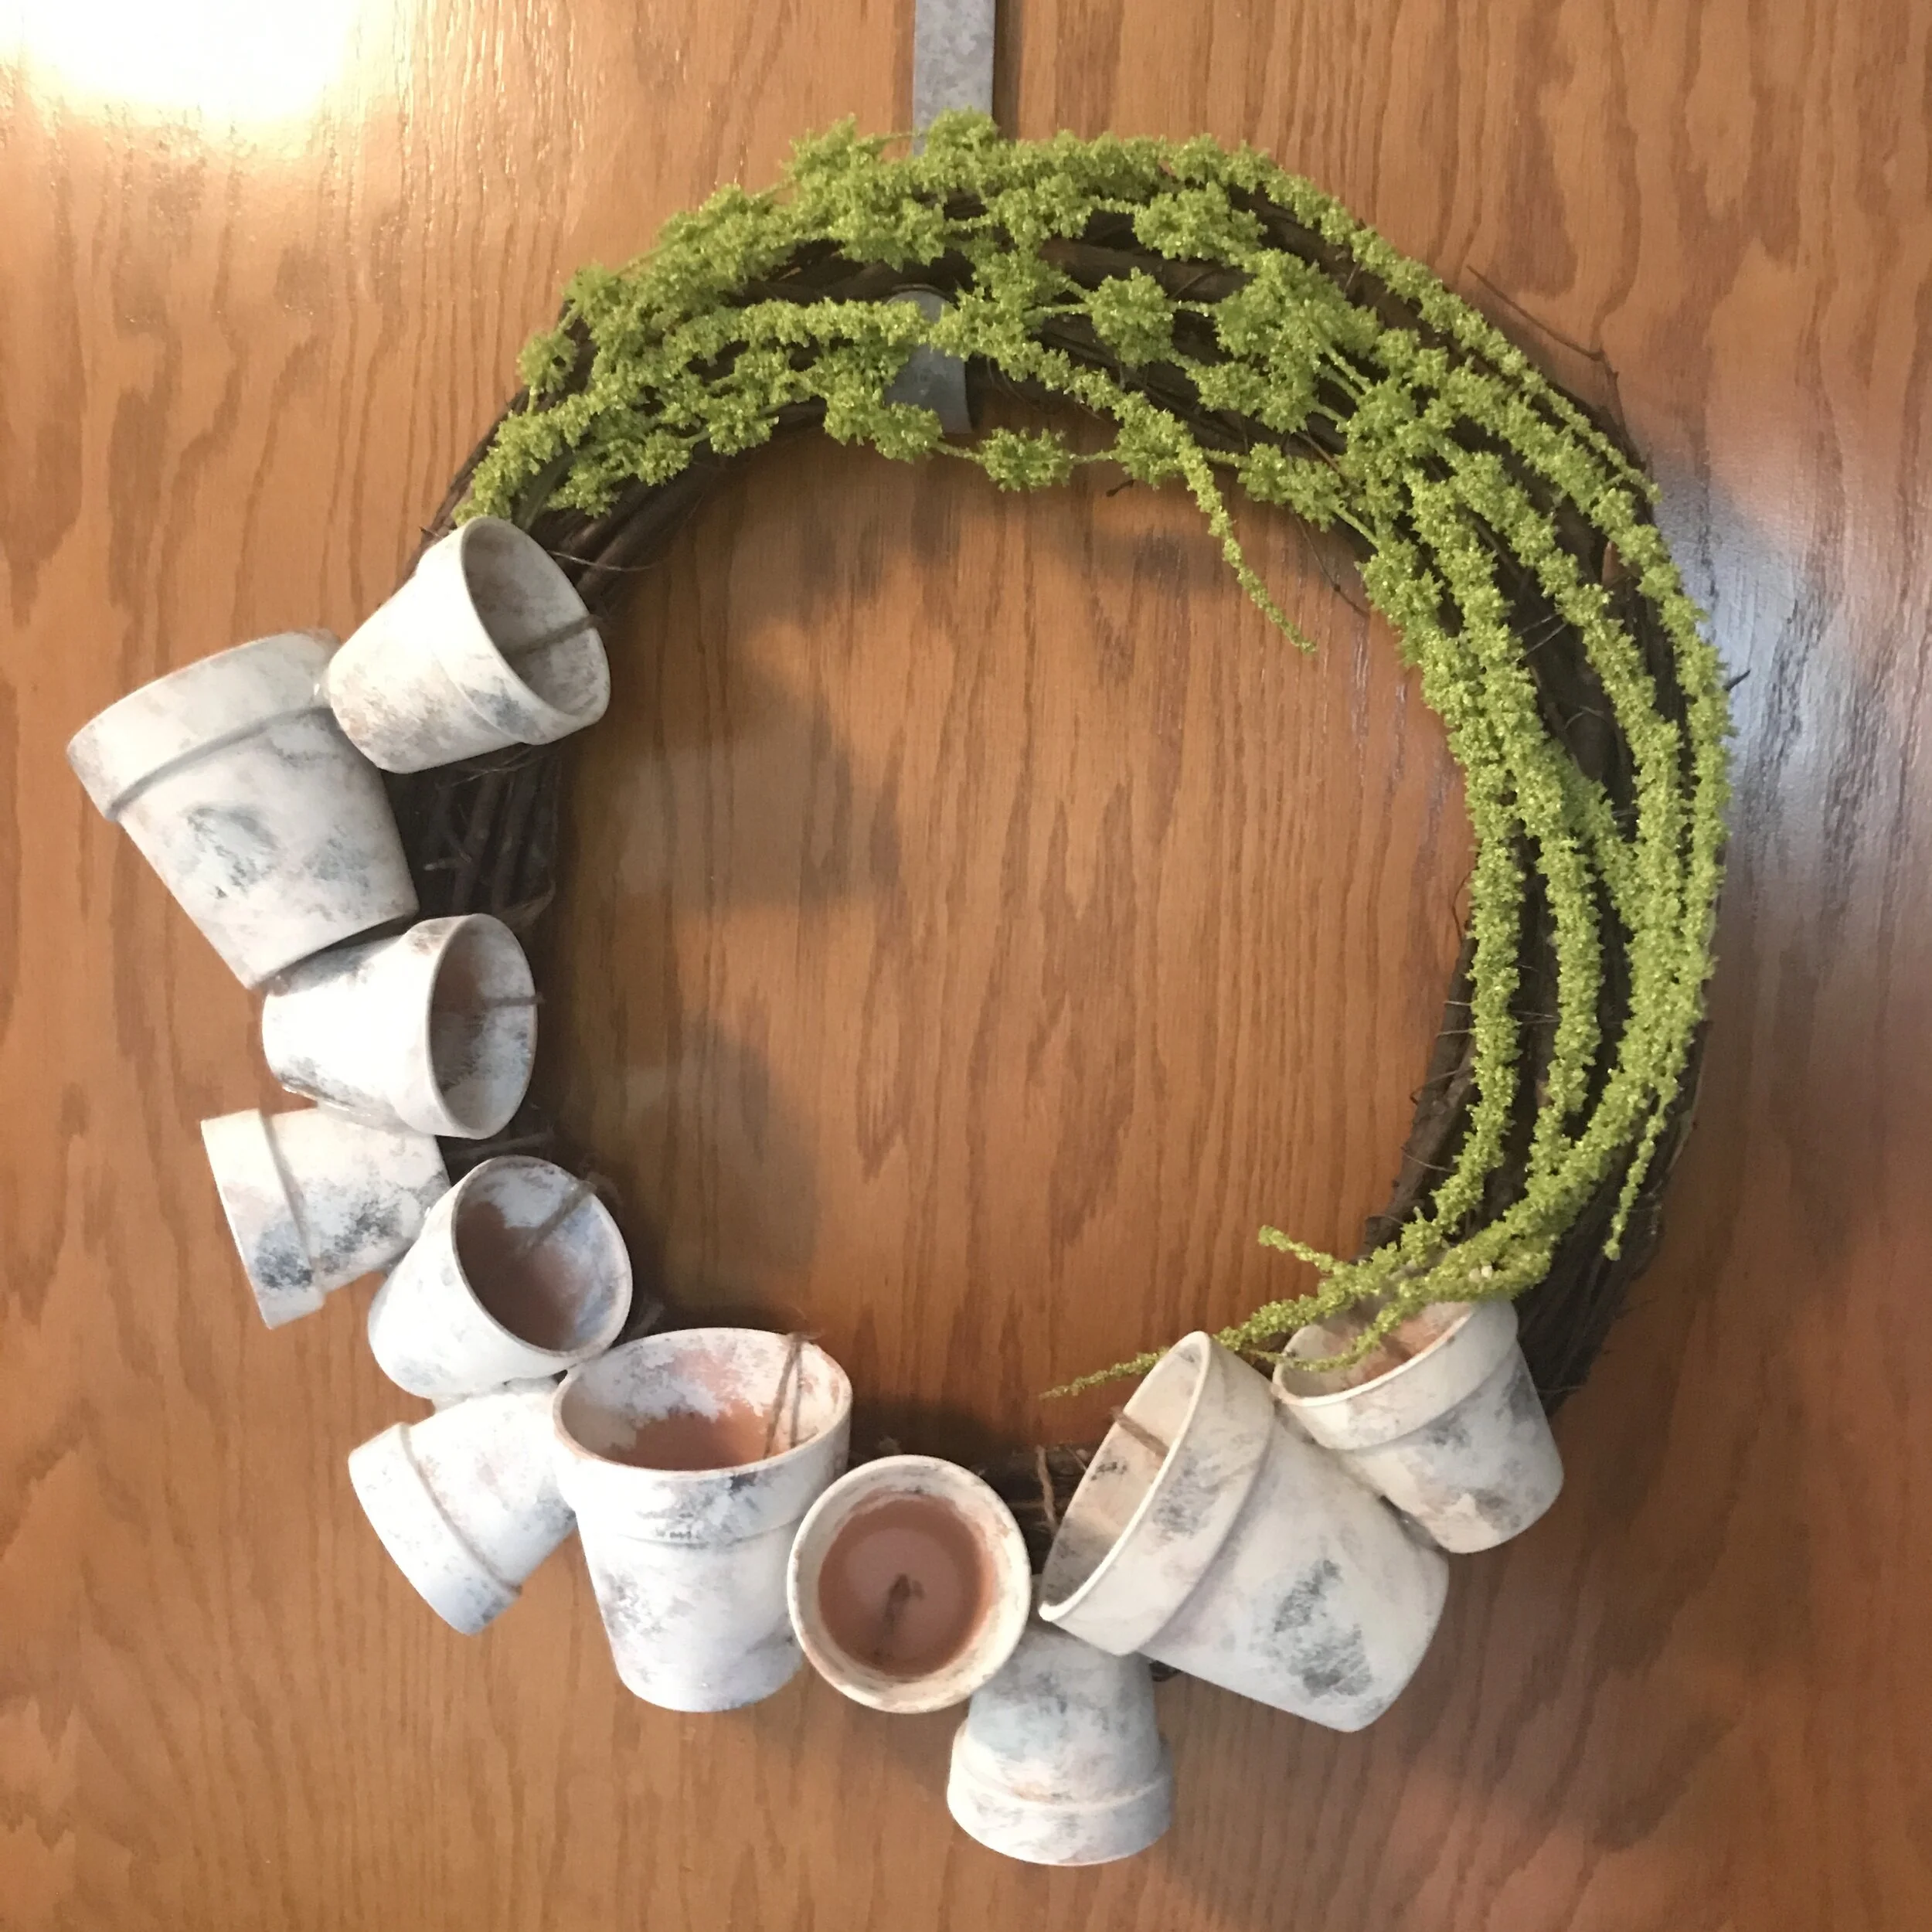
Step Four: Break out the glue gun!! Hang your wreath on a door so that as you work you can see what it will look like when hanging up. Let the glue gun warm up for a while and squirt some out on a paper plate to check that it’s hot enough—lukewarm glue will not stick to your project. Hot glue your pots to each other and to the wreath. Be really generous with the glue! We will come back later and use flowers and moss to cover it. The pots are heavy, so keep the twine attached to most of them; if there are some where you feel like it’s in the way of putting stuff in the pots or it wouldn’t be easy to cover it up, go ahead and cut the twine off and remove it. You have my permission.
Warning: that glue gets hottttt!! If you get it on your skin it will make a blister and hurt like the dickens. Be very careful. Use inanimate objects to help you if need be (tweezers, plastic knives, that pretty pencil from your grandma that you never knew what to do with).
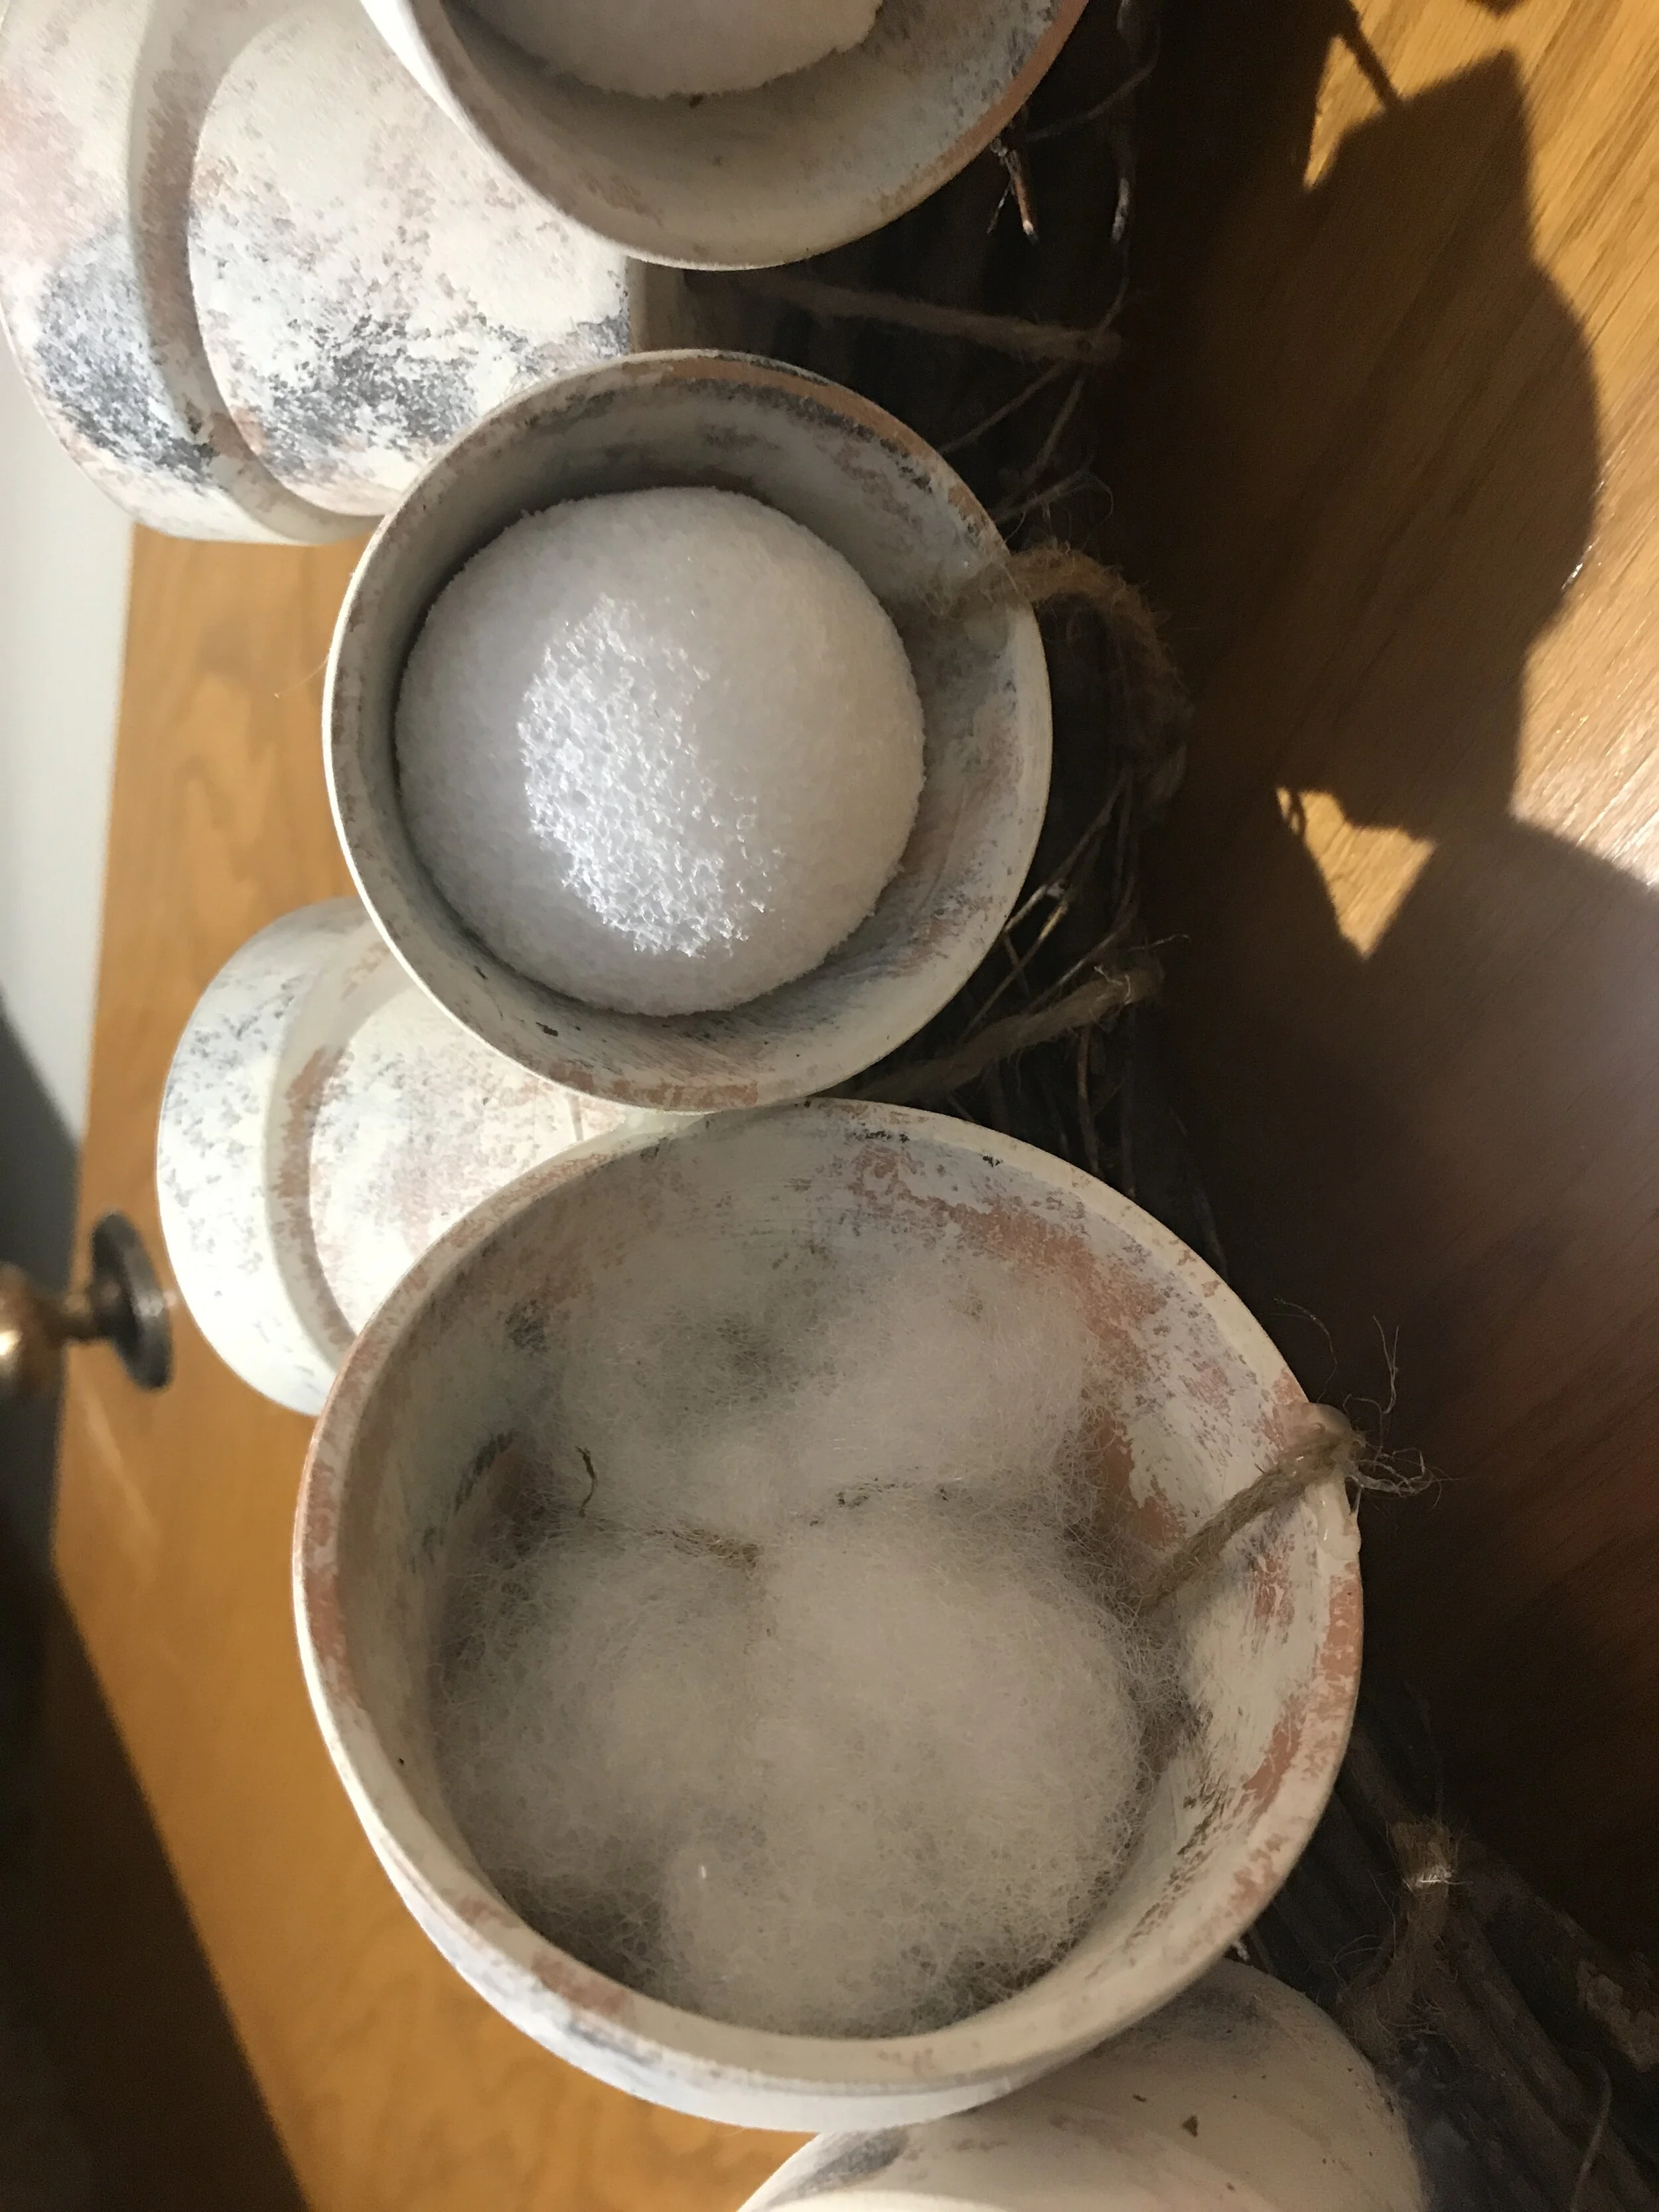
Step Five: Fill the pots with styrofoam balls and stuffing. Place styrofoam balls into the smaller pots—really shove them down in there! For the larger pots, make a little ball of stuffing and insert it, leaving a little headspace at the top. Hot glue around the edge of the stuffing to keep it where you want it. That stuff has a mind of it’s own, it will be unruly and try to climb out unless you show it who’s boss.
Step Six: Add the moss to the pots. Be ready to have a mess on your hands…but that’s part of the fun, right? Tear or cut blobs of moss and kind of ball it up in your hands to fit the size of the pot you are working on. Stuff it into the pot and finesse it until it looks how you want it. Use hot glue all over the foam balls and top of the stuffing, around the edges, and anywhere the moss seems like it wants to fall out of the pot.
Recruit your extra set of hands again to pick all the tiny bits of moss out of your hair.


Step Seven: THE BEST PART! Place your flowers in the pots, anywhere you made a mess with the hot glue, and to cover up any twine you can see from the front. Use a wire cutter to remove the flower heads from their stems (so brutal, I know) and place them around your wreath. Once you are happy with how it looks, bust out that glue gun again! Fabric does really well with hot glue, so glue the petals of the fabric to each other, the pots, the wreath…but you don’t want it to show this time so use tiny dots of glue in multiple places.
Step Eight: Glue your green garland to your wreath and remove the twine.
Now…you may still be able to see the twine on the sides of the wreath. This doesn’t bother me as it blends in with the grapevine enough that it’s not like “hey, check it out, she used twine to hold me on this wreath!” If this bothers you, go ahead and add more moss and flowers until it’s covered. Do what you gotta do.
Step Nine: Take a pic of your masterpiece and send it to everyone you know! You did it! A custom-made Spring Wreath for your space! (Make sure you hang it in a spot where it’s protected from the weather. This is not an outdoor masterpiece.)

That’s it my friends!! I’m so excited to see what you create…be sure to comment below or post on IG or Facebook and tag @roomfor.creativity!
Happy Making!!
