Kitchen Table Rescue, Part 1: The Tabletop
Hello, Dear Readers!
Today I am going to share with you my kitchen table refinishing project!
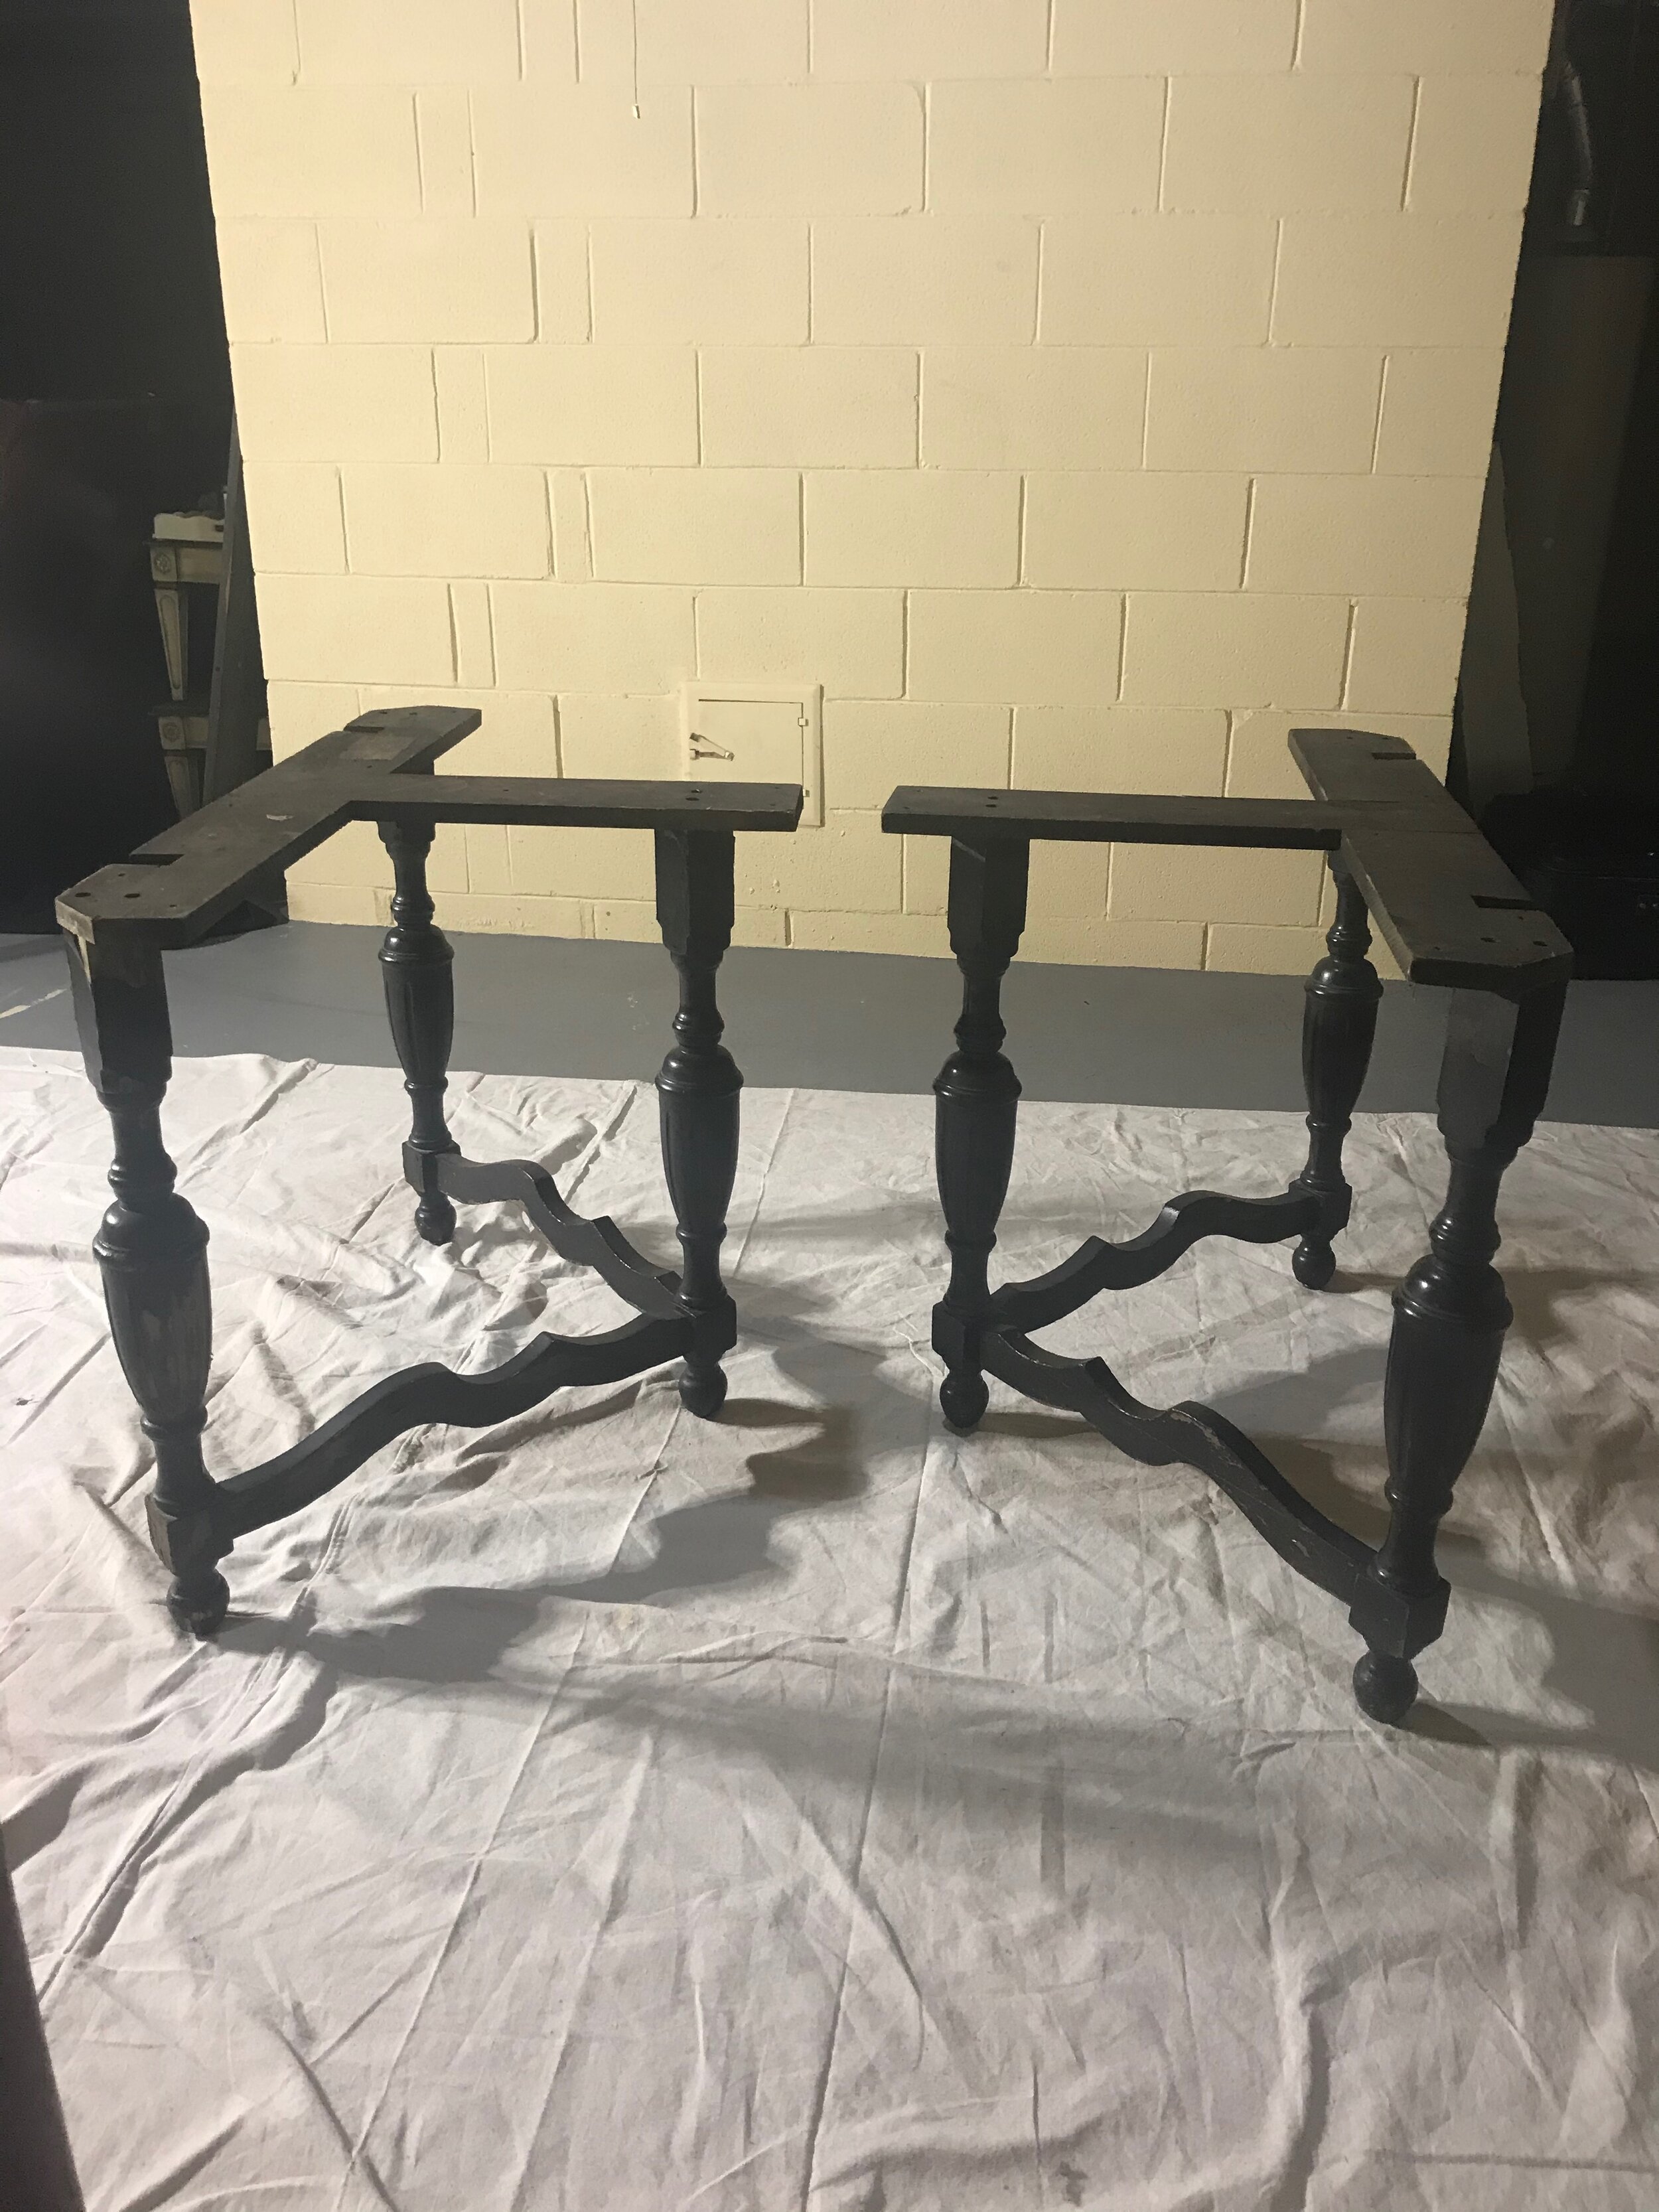
I had a very specific vision for what I wanted our kitchen table to look like: real wood, square (or square-ish) and it had to fit in the small space in our kitchen. I found this lovely lady on Facebook Marketplace after many hours of searching “in real life” at consignment and regular stores. Did she have some issues? Sure, but I could see the potential and knew she would eventually be even better than what I had imagined.
Process:
Remove veneer
Repair wood surface
Stain
Paint
Seal


EVERY project is a learning process, and this one was no exception! I had to pivot and re-think and adjust my expectations throughout. Being flexible helps. And so does wine.
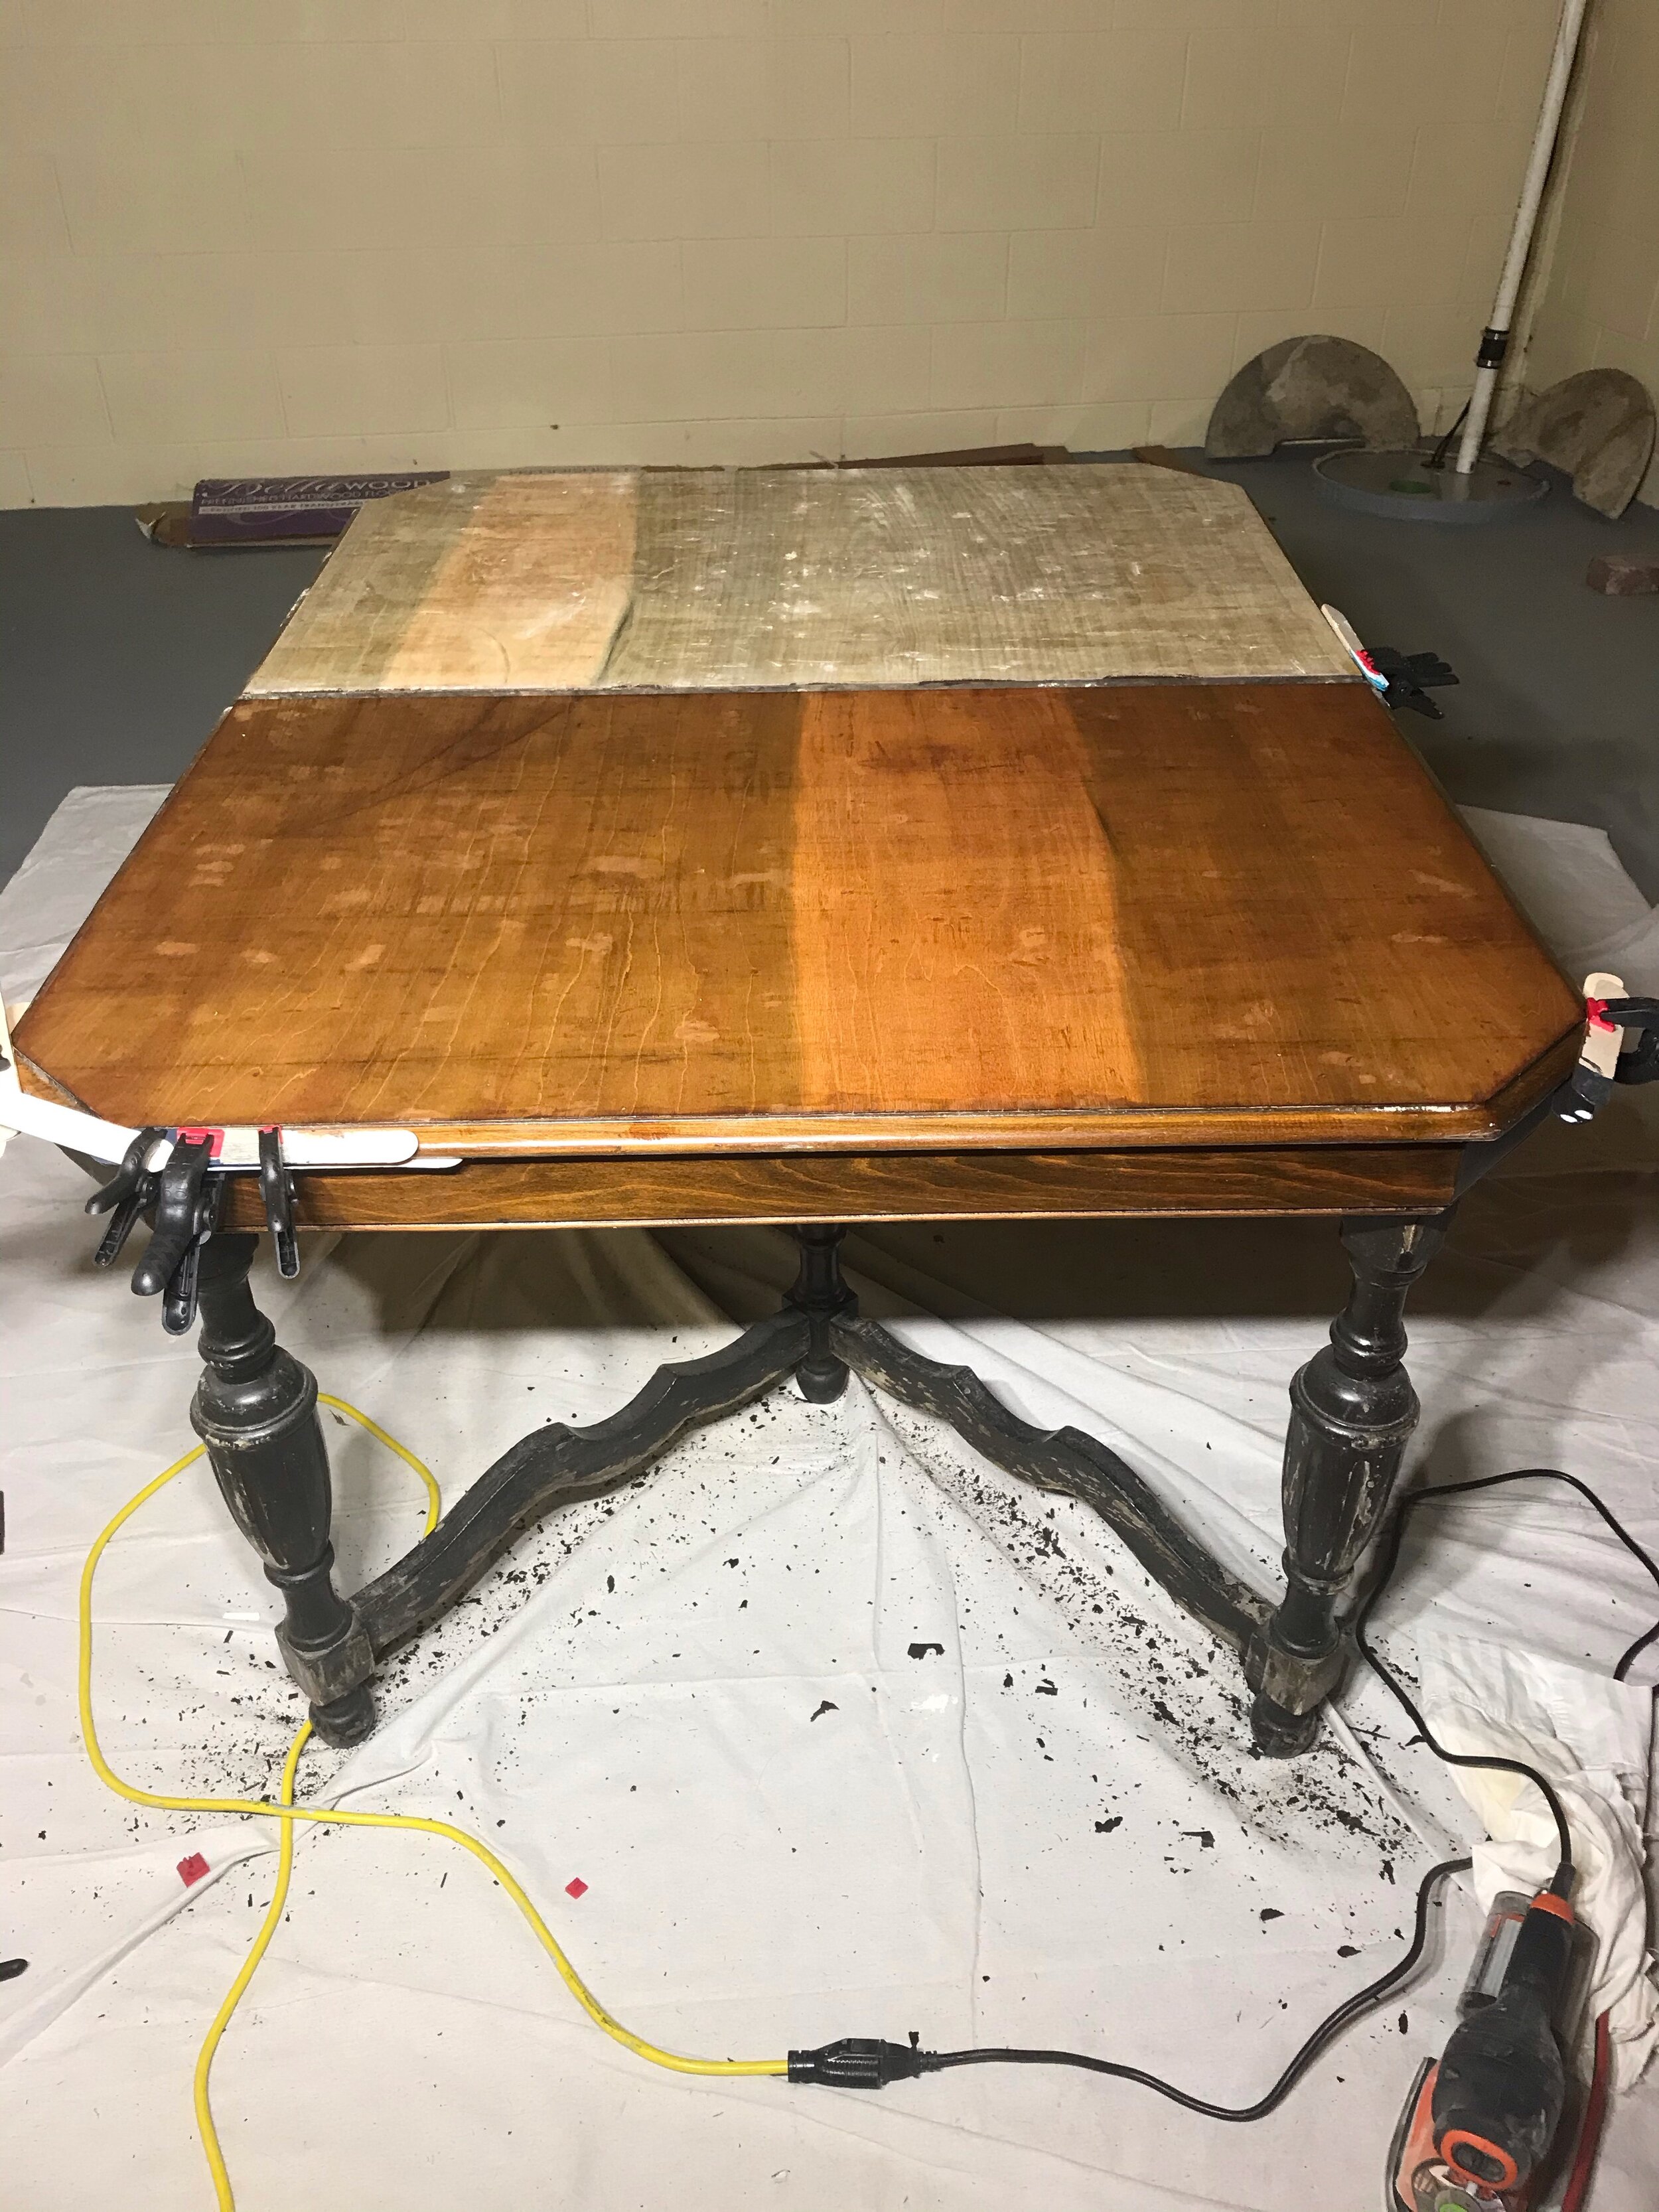
She had good bones, meaning the structure was sound, but (as you can see!) the paint was peeling on her legs and the top had some damage: bubbles and scratches in the veneer and in some places it was peeling off or missing. There was also some kind of sticky residue, possibly from tape.
Who would be so mean to this beauty??
Overall, these were cosmetic issues. She just needed a makeover.
Veneer is a thin (usually 1/16” to 1/8”) piece of wood glued on top of another piece of wood of a lesser quality. This allows a beautiful finish for less expense than making the entire piece out of the nicer wood.
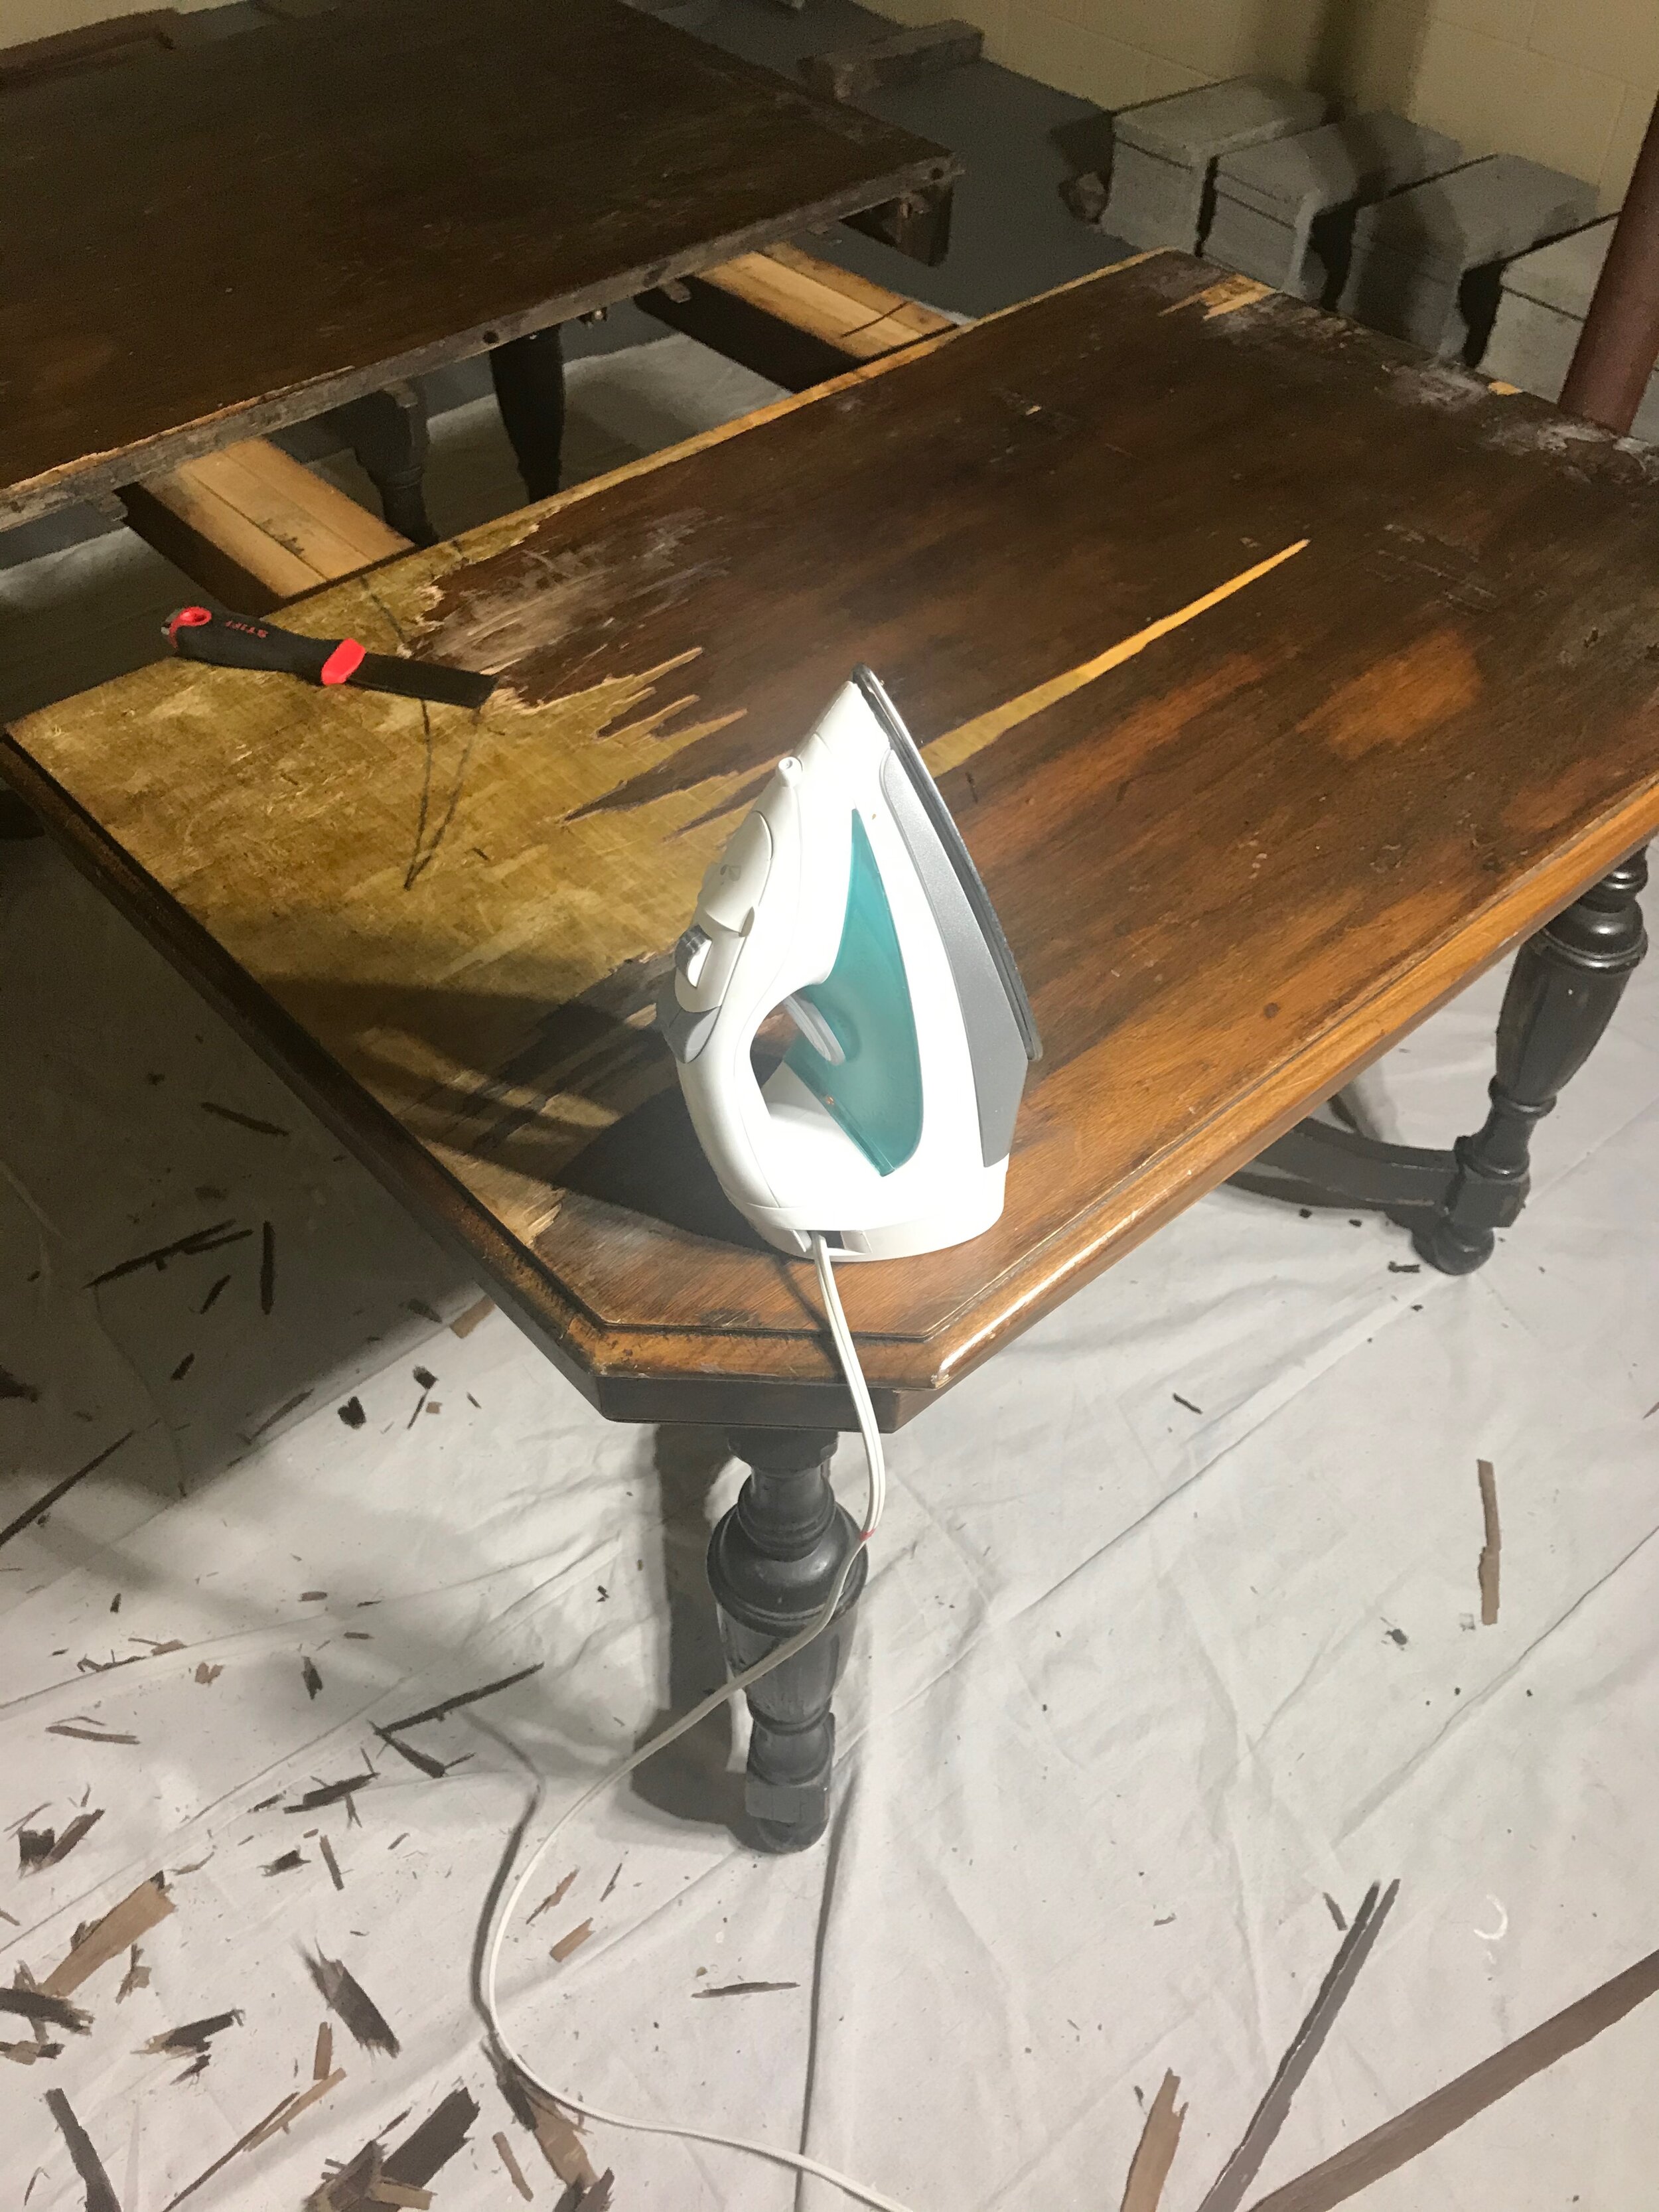
After reading A LOT online about how to repair veneer, not an easy process, I decided to remove it…also not an easy process, as it turns out.
I used my power sander (learn more about that here) to remove the shiny finish and thin the veneer a bit, then used an iron and wet towels to soften the glue and a plastic scraper to peel the veneer away from the wood underneath. I chose to do it all in one day and it took me a total of 9 hours.
When I get it in my head that I’m going to do a thing, folks, I do the thing.
(I’m working on a post with more detail on how to remove veneer…I’ll let you know when it’s up!)
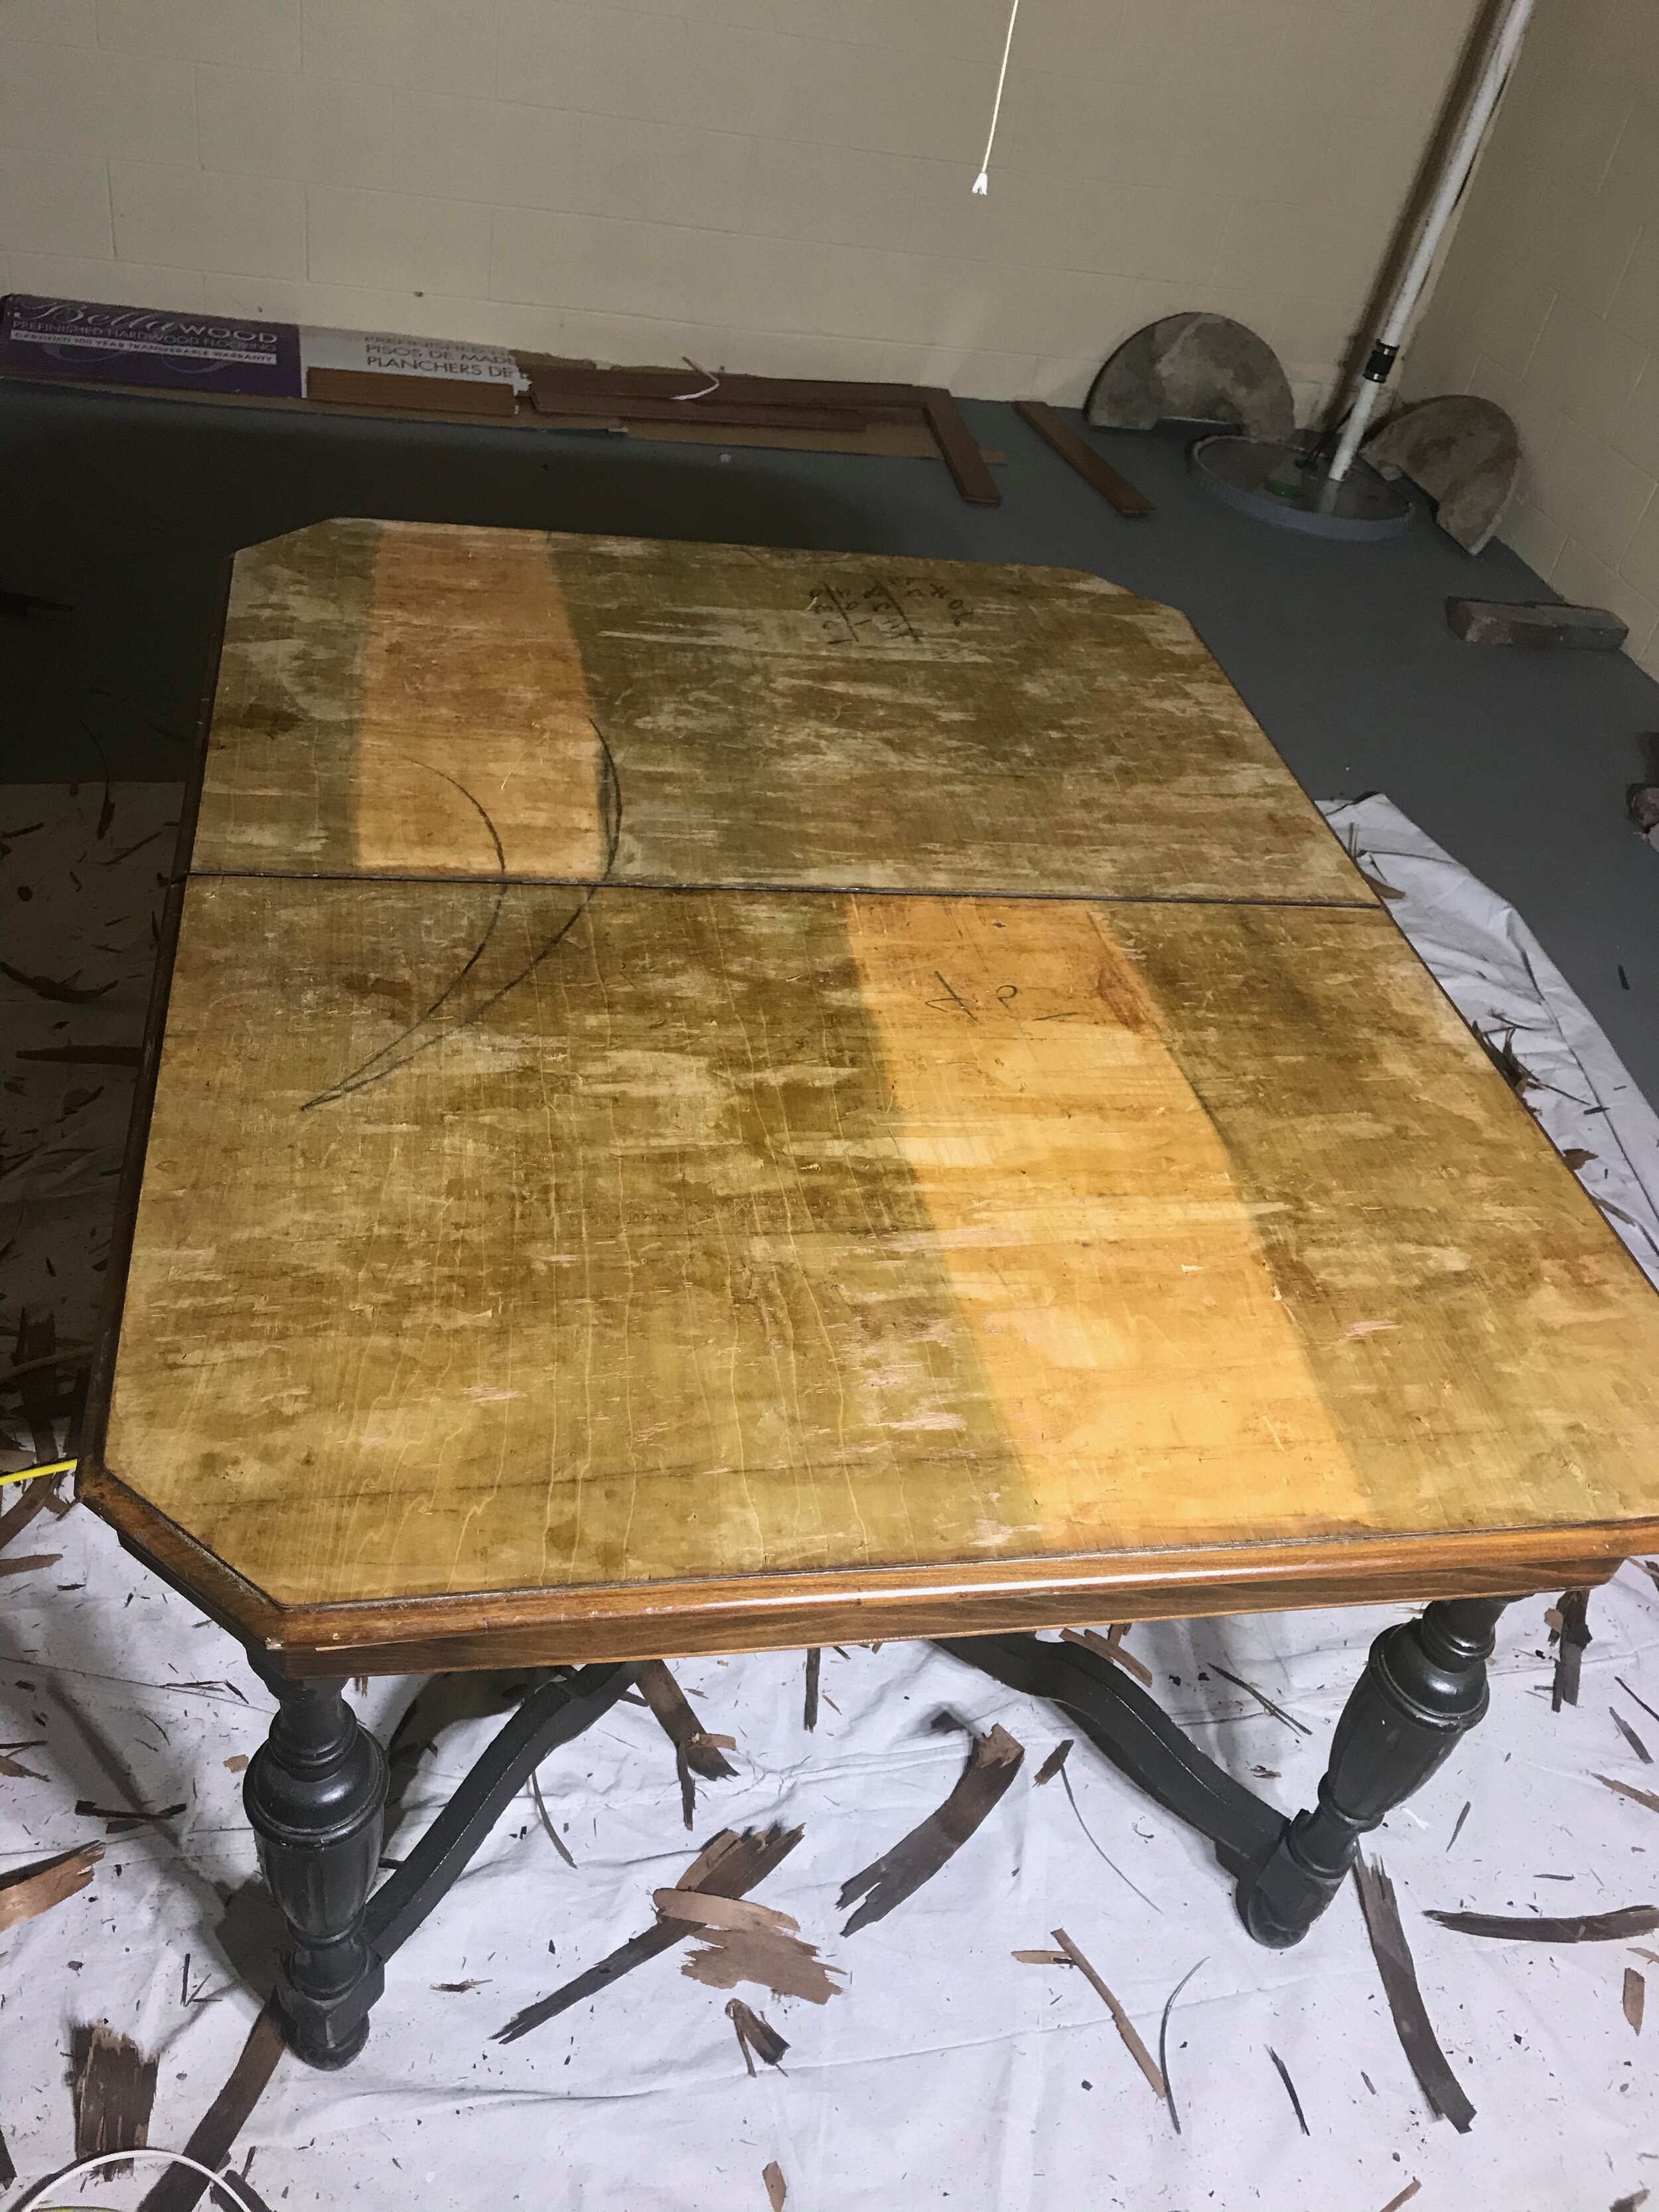
Once the veneer was removed, there were some gouges in the wood that I made when scraping (oopsie!) and some that were pre-existing. I filled them in with stainable wood filler and let it dry (which only takes about 15 minutes!).
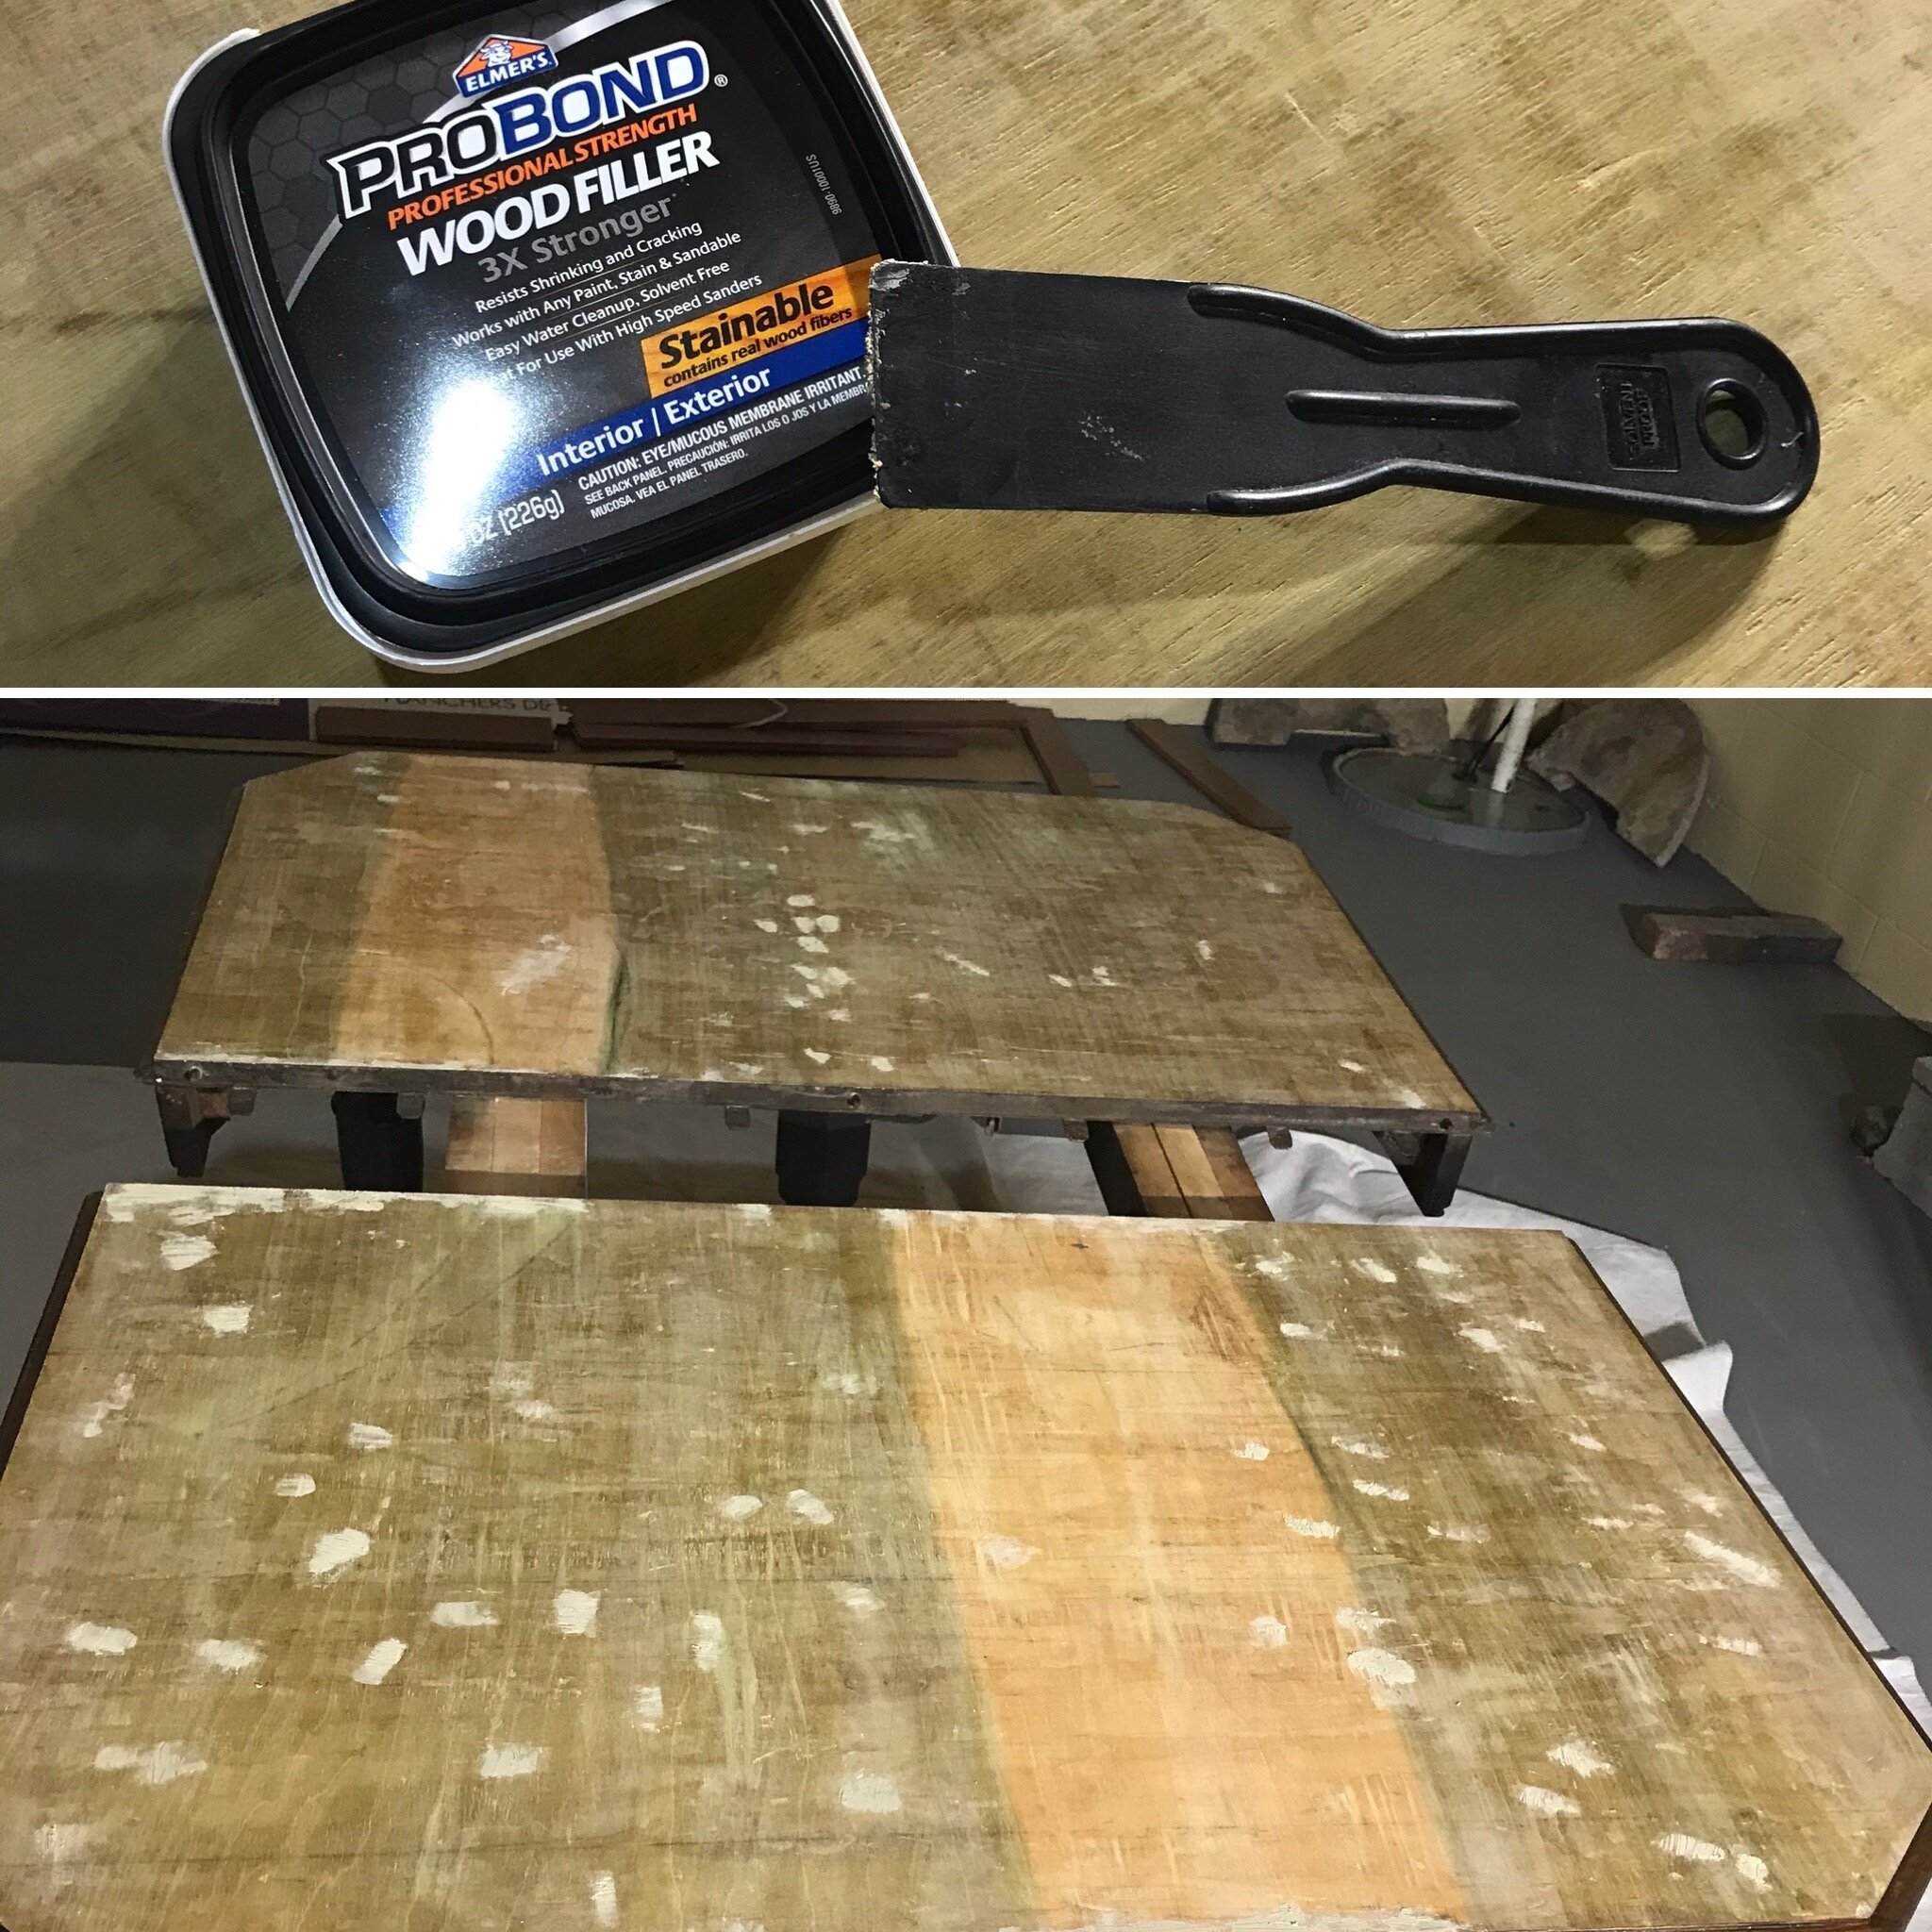
I used my power sander with an 80 grit paper to get any last bits of glue off of the wood and smooth out the wood filler. Then I used a 120 grit with the sander, and finally a 320 grit by hand to make it super smooth. Like a baby’s bottom.
I have a post about power sanding and sandpaper here.

Before and after tattoo removal attempts. Better but not great.
Oh yeah, also under the veneer I discovered that someone had given my lady tattoos! I tried to remove the writing (rubbing alcohol, mineral spirits, nail polish remover, sanding) but nothing got it completely out. *sigh*
So now what do I do??
Adjust expectations, pivot, get creative…
I decided to stain it using Valspar oil-based stain in “honey” to match the non-damaged “lip” of the table. (Wear gloves when using oil-based stain or your hands will match your project!)

A definite improvement and a near-perfect color match! But she still needs some concealer…
BUT (and there’s always a but, isn’t there?)
The wood filler did NOT stain the same color as the rest of the top...however I must toot my own horn with the color choice, a near-perfect match! But now she looks like she’s got a case of chicken pox. And that writing was still visible.
*sigh* again.
Repairing the edges. And a before/after of the stain!
Pivot, adjust expectations, get creative…let ideas percolate…
Meanwhile…the edges of the top were also in pretty bad shape, but salvageable. I glued the peeling veneer (clamps, wood glue, craft sticks to hold in place), filled the scratches and built up one corner that had chipped off using wood filler. Another opportunity for creativity: knowing that the wood filler would not stain the same color as the wood, and not wanting to peel all the veneer off of that part of the table (once was enough of that process!), I decided to paint it!
What’s the worst that can happen?

The finished edge! A little eyeliner for my lady
I used Dixie Belle chalk paint in Caviar…then realized that it looked a little too grey so I did one coat of Carbon from Behr, a color I had left over from another project. (Always keep your bits and bobs of paint on standby, you never know when you will need a brushfull or two!)
You can find my post about chalk paint here!
Ok, back to my creative solution for the top.
When in doubt…paint it out!
Drumroll please…I decided to use a STENCIL! I had no idea if it would cover the chicken pox and tattoos enough that they weren’t the first thing you notice about her, but it was worth a try.
It’s all a crapshoot, really. Just try something. If you don’t like it, try something else!


I used the large Star stencil from Cutting Edge Stencils, Dixie Belle chalk paint in Caviar (dark grey) and a high density foam roller. Turns out it was the perfect solution to hide some of the blemishes but still let the wood shine through.
This was the most fun part of the entire project!!
Isn’t having fun ultimately what it’s all about??
The last step(s) were to sand lightly with 320 grit paper to smooth out the stencil paint, then topcoat with Dixie Belle Gator Hide. (See my post about topcoats here!)
Makeover Complete!!
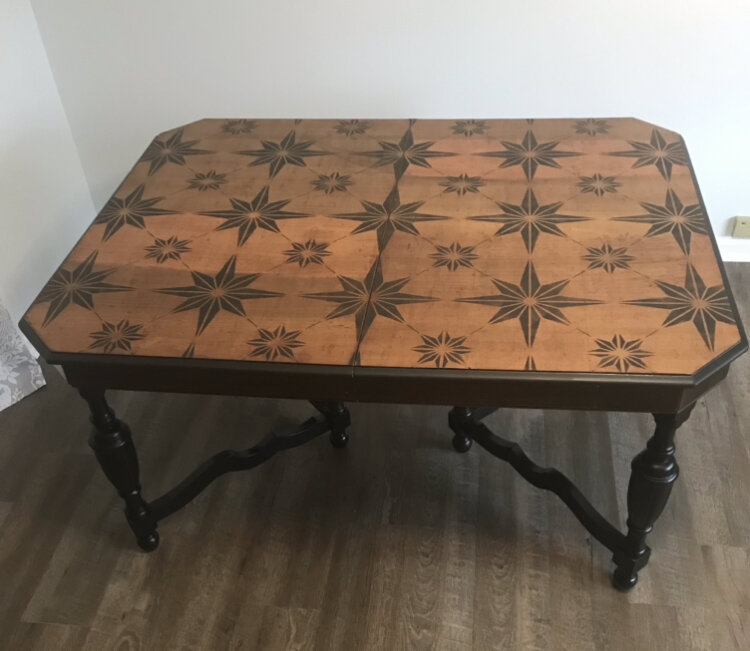
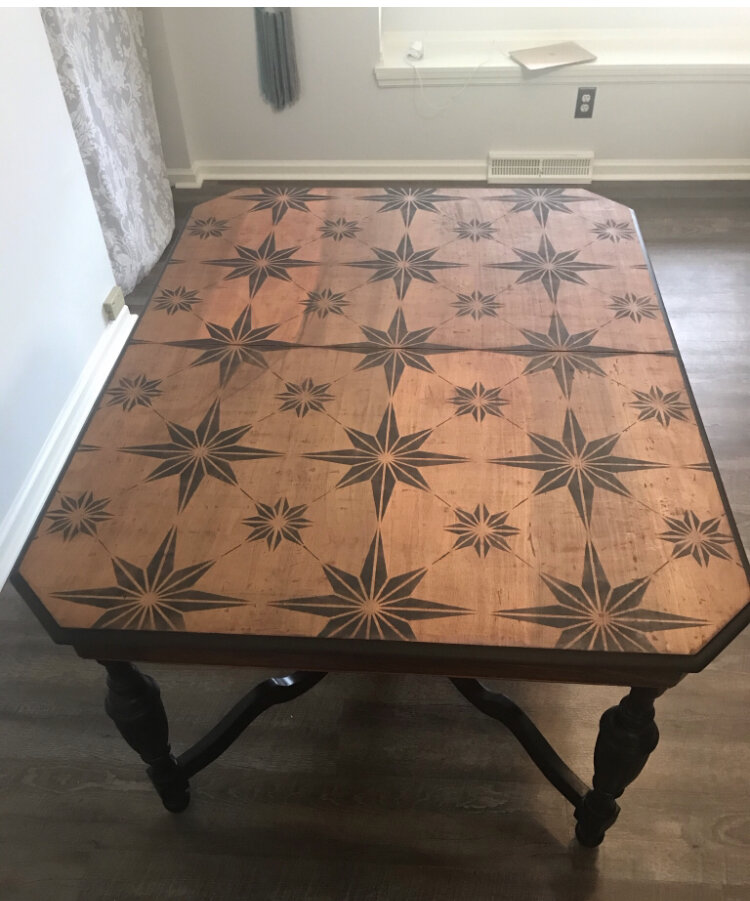

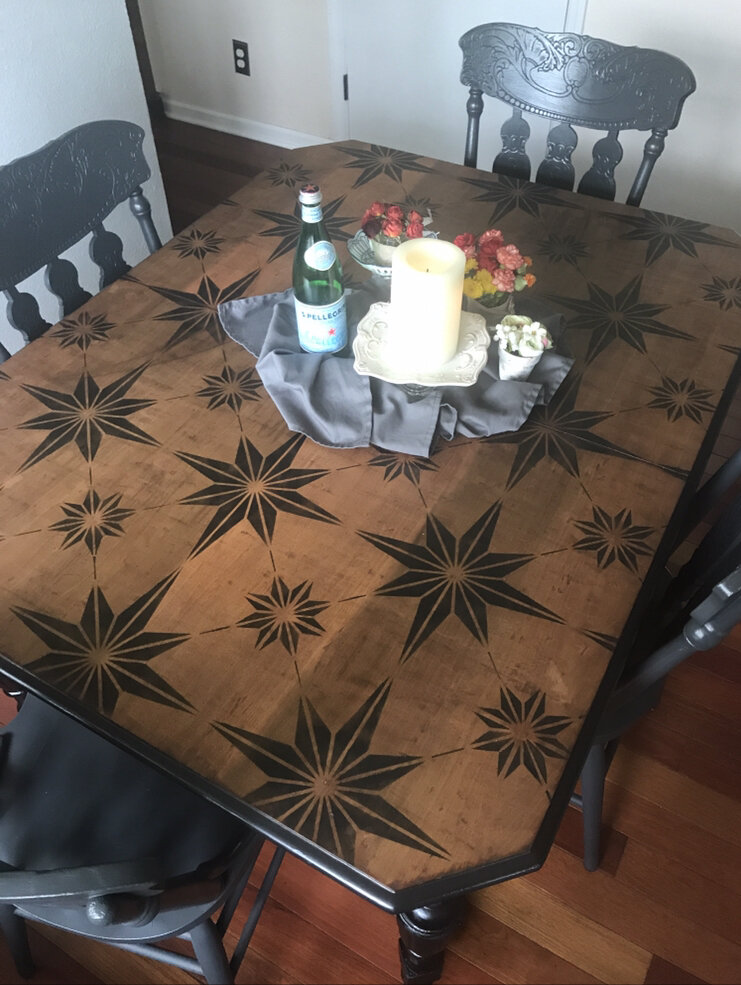
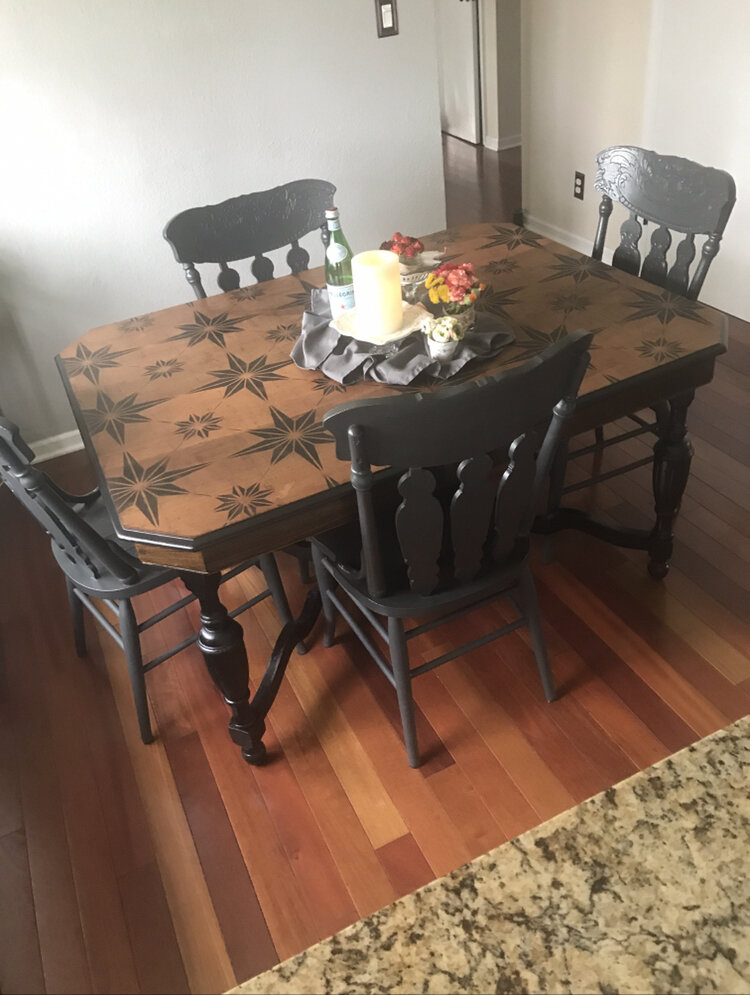

I couldn’t be more proud of how this little lady turned out.
Perfectly Imperfect.
Her makeover was worth every minute.
Click here to head to my IG where I’ve saved this whole process in highlights.
There are short videos and more pix that aren’t seen here!
Thanks for being here, my friends.
As always, I’m here for you! Reach out with any questions, I’ll do my best to help.
Visit “Kitchen Table Rescue: Part 2…The Legs” to see how I made those sexy legs even sexier!!
Stay in the loop:
You can sign up with the button below to receive an email whenever there’s a new post!
